
Cooking has been a great asset to teaching my kids science, basic math, and nutrition. One of our recent studies was on a mostly-unicellular microorganism very familiar to the kitchen — yeast. The boys learned how to make gluten and dairy free bread using these dynamo fungi.
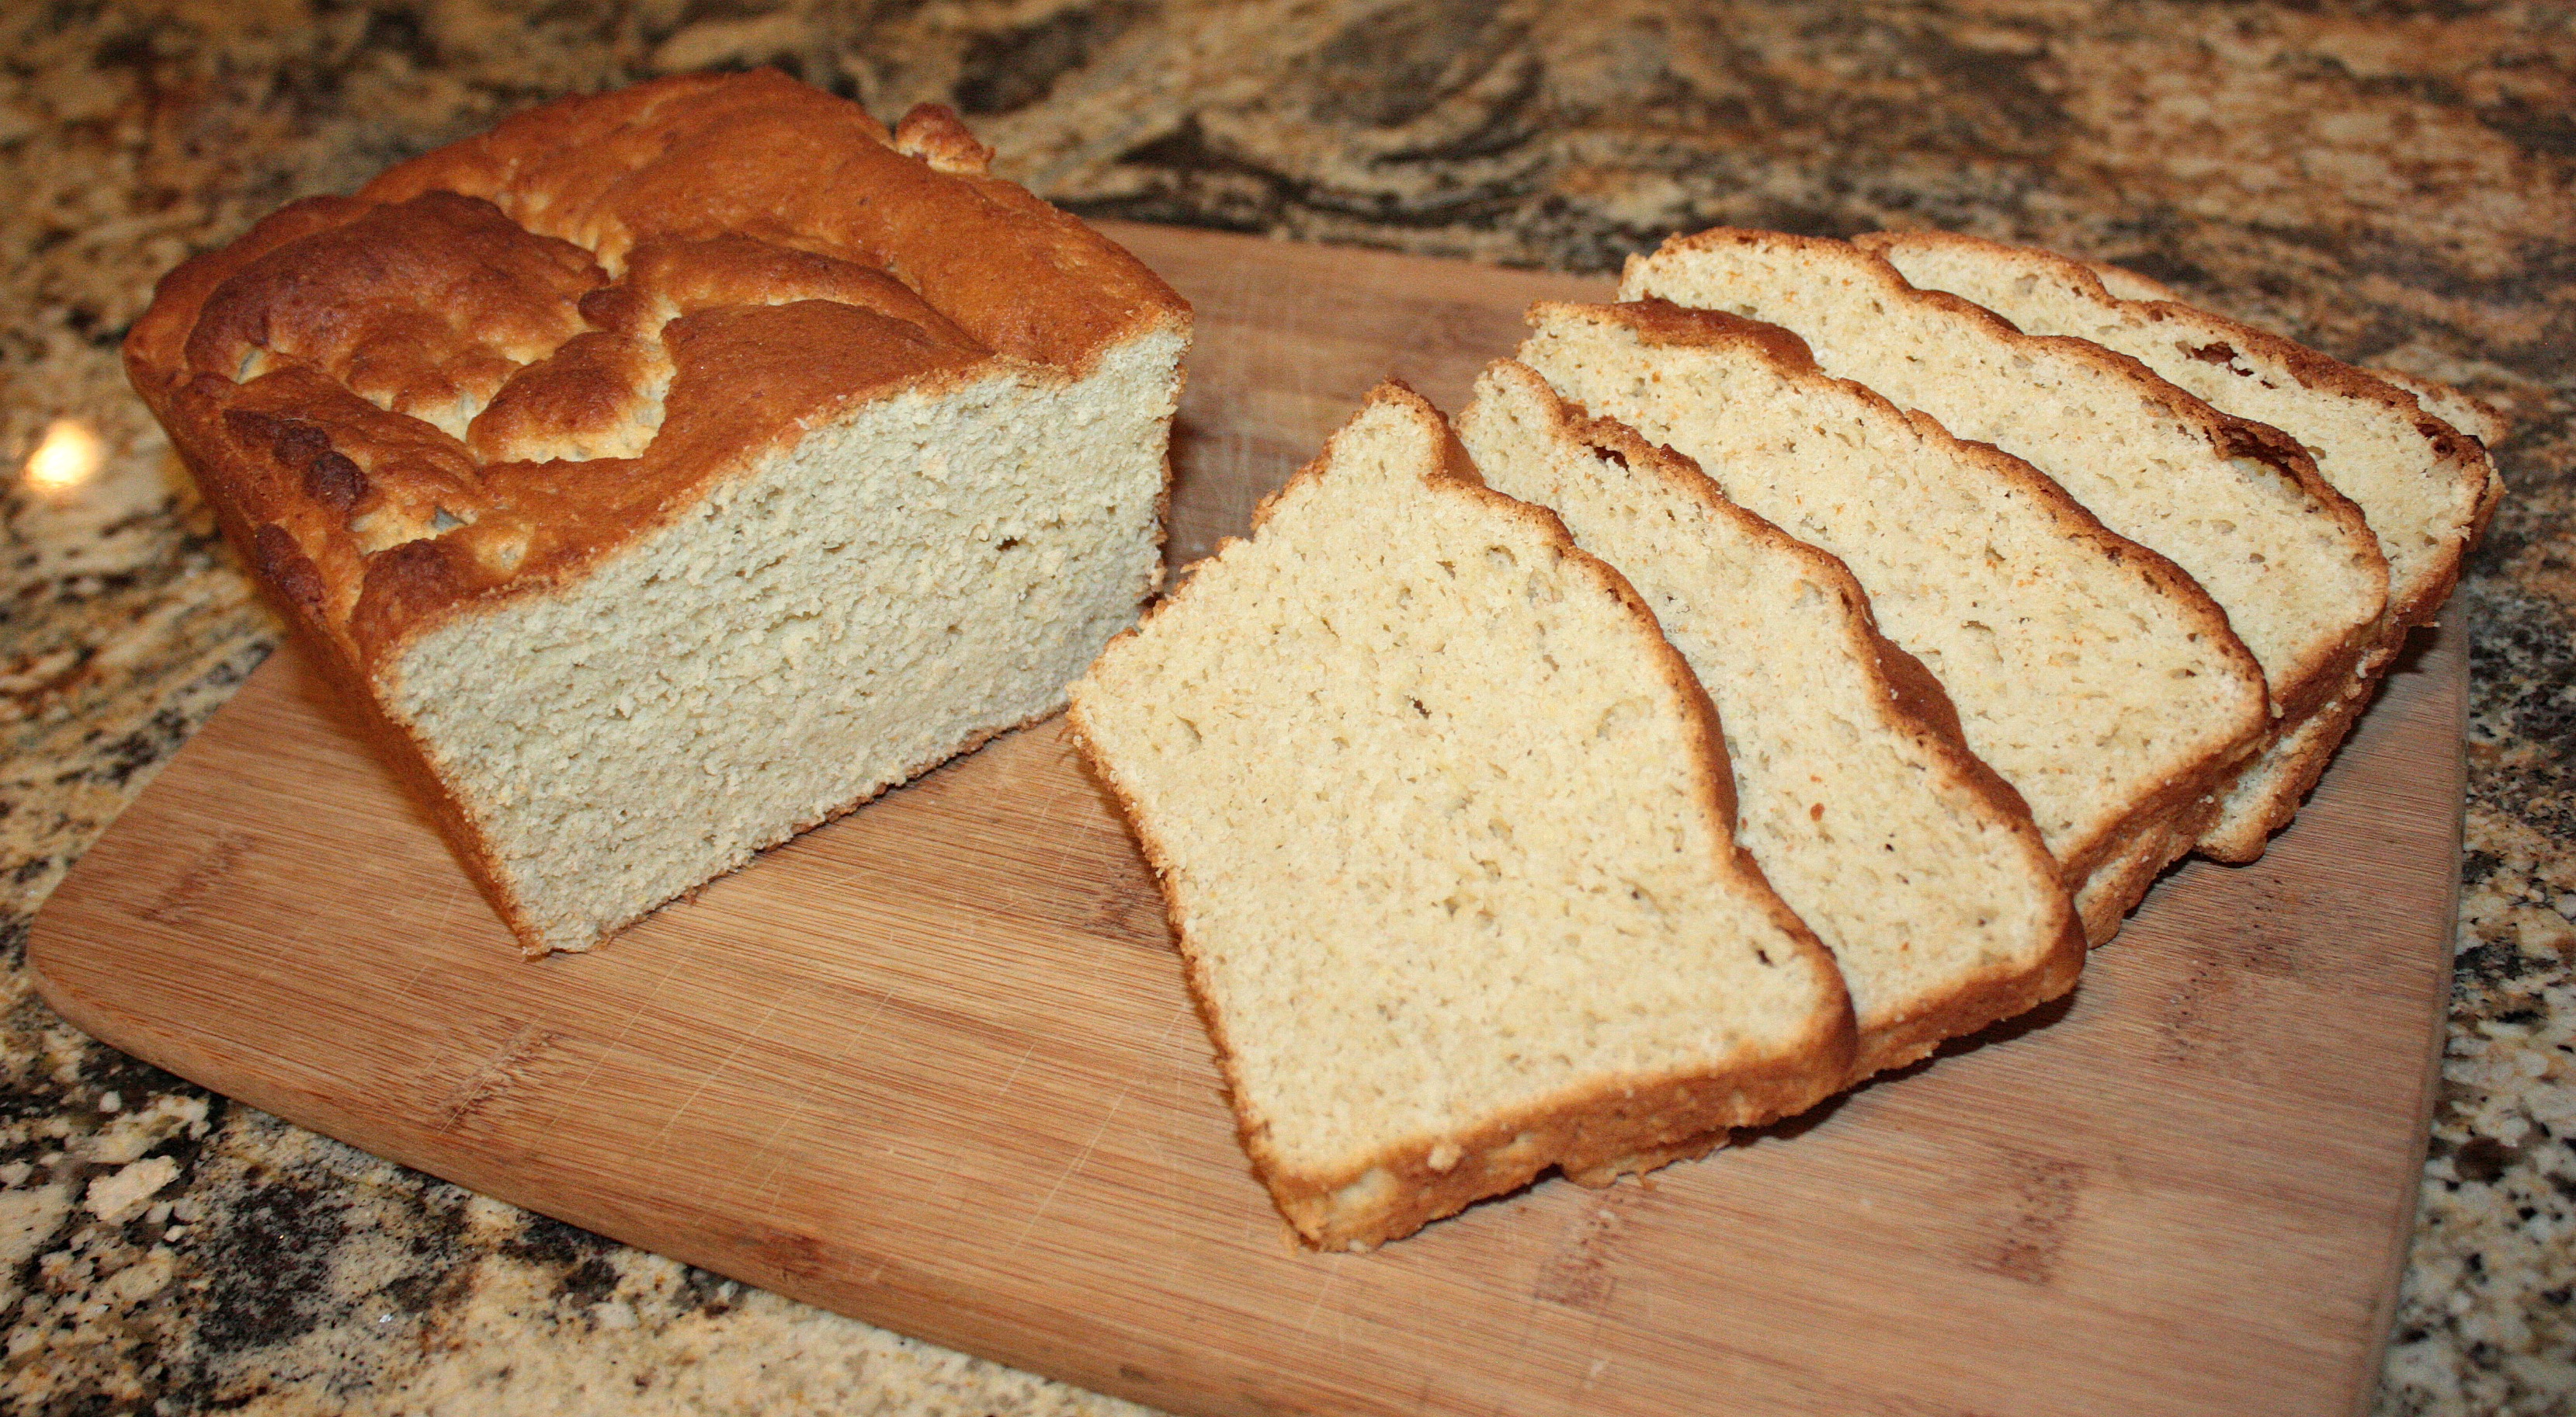
After deciding to change our family to an anti-inflammatory diet, sandwich bread was a real issue. Our children enjoy a MANwich (the term they use for “sandwiches a man eats”) packed full of protein and an occasional piece of toast so I needed to find a healthy replacement. The idea of making my own GF bread was a little intimidating but because many store-bought brands boast less nutrients than cardboard, I decided it was worth a shot. I am happy to say we (I say “we” because the kids have helped me tweak this original formula from Allrecipes) have created a tasty end result. Our brood has tried the gamut of GF breads and in my opinion, this one beats them all!
This recipe is simple, quick to throw together, and uses whole grains. I have often heard it said that GF flours are “picky” but I have found this particular method very forgiving. If you are on are the hunt for an alternative to wheat-based bread products, this is a great place to start!
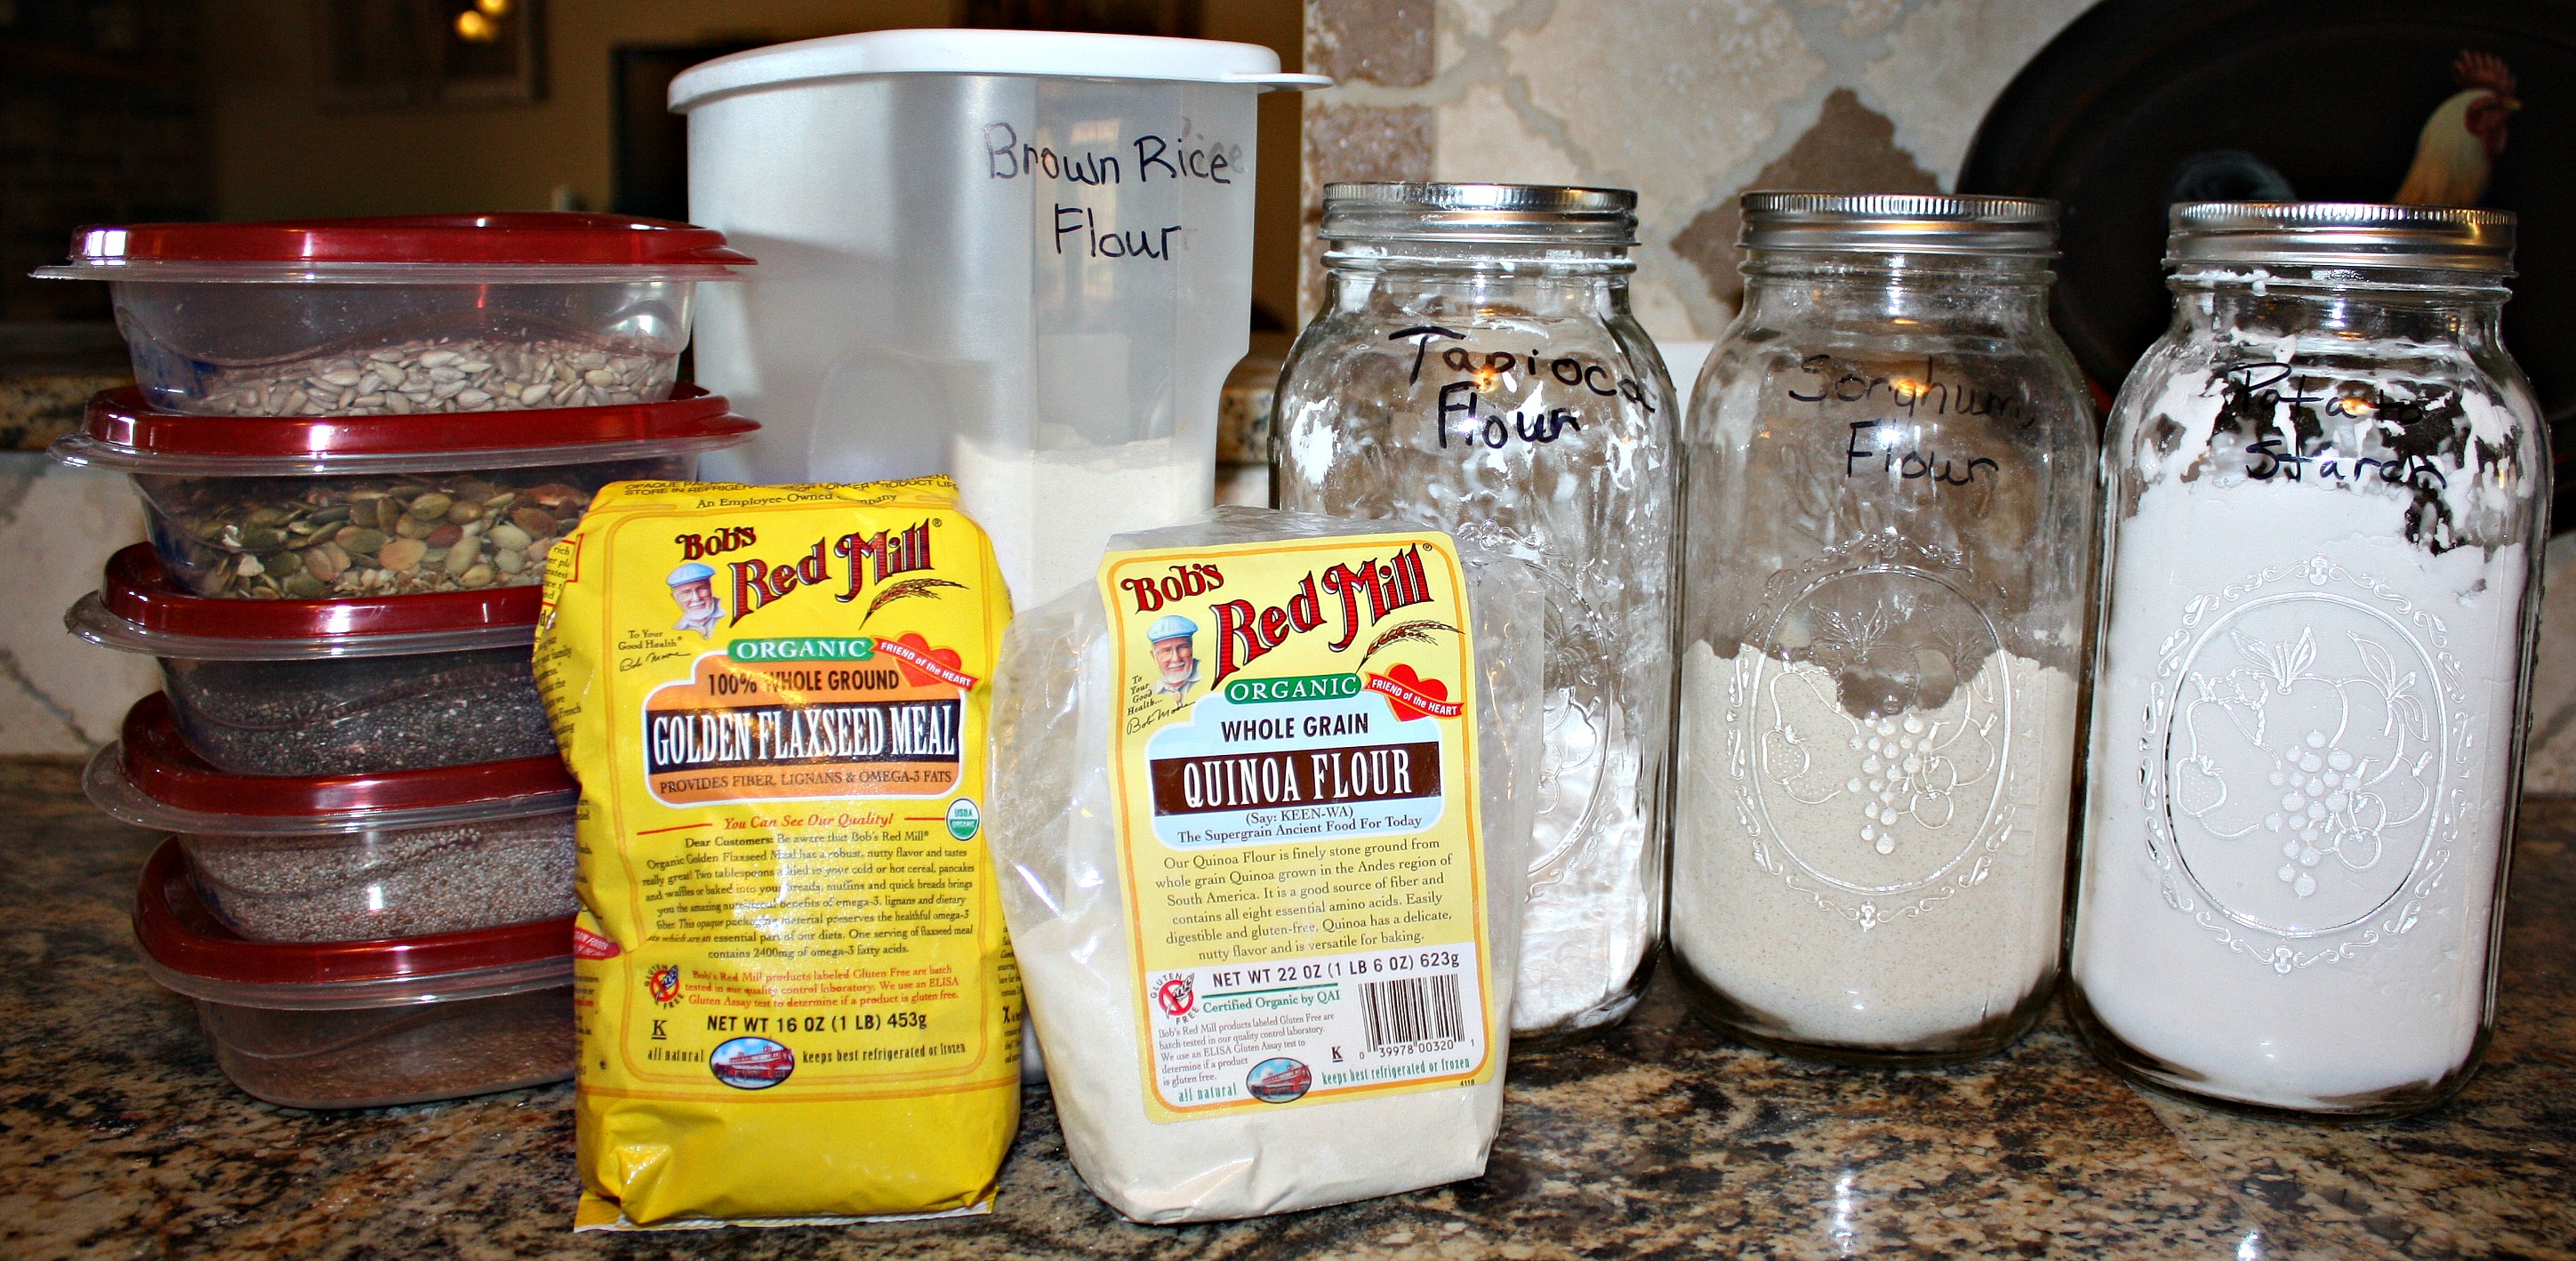
One of the best ways to keep GF flours and seeds organized is to store them in accessible containers with labels. Our grains have a high turn over rate so most of mine stay in the pantry.
Gluten-free and dairy-free bread (Makes 2 – 9×5 loaves)
Part 1:
2 2/3 cups brown rice flour (OR 2 cups brown rice flour and 2/3 cup quinoa flour.)
1 1/3 cup sorghum flour
1 cup tapioca flour (In the US, tapioca flour/starch are used interchangeably in most recipes.)
1 cup potato starch (NOT flour)
2 rounded Tbsp. xanthan gum
1/3 cup golden flaxseed meal
1 tsp. baking powder
1 Tbsp. salt
Part 2:
1/4 cup honey
2/3 cup extra virgin olive oil
3 Tbsp. unrefined coconut oil (melted)
5 eggs
Part 3:
2 Tbsp. active dry yeast
6 Tbsp. sugar
2 1/2 cups water
Supplies:
Stand mixer with flat beater blade
Sauce pan
Small glass bowl
Thermometer
2 – 9×5 loaf pans
Grab a stand mixer (a good handheld would work if need be); measure and pour all of Part 1 ingredients into the mixing bowl. Using the flat beater blade (no dough hook needed), premix the ingredients on low for a few seconds.
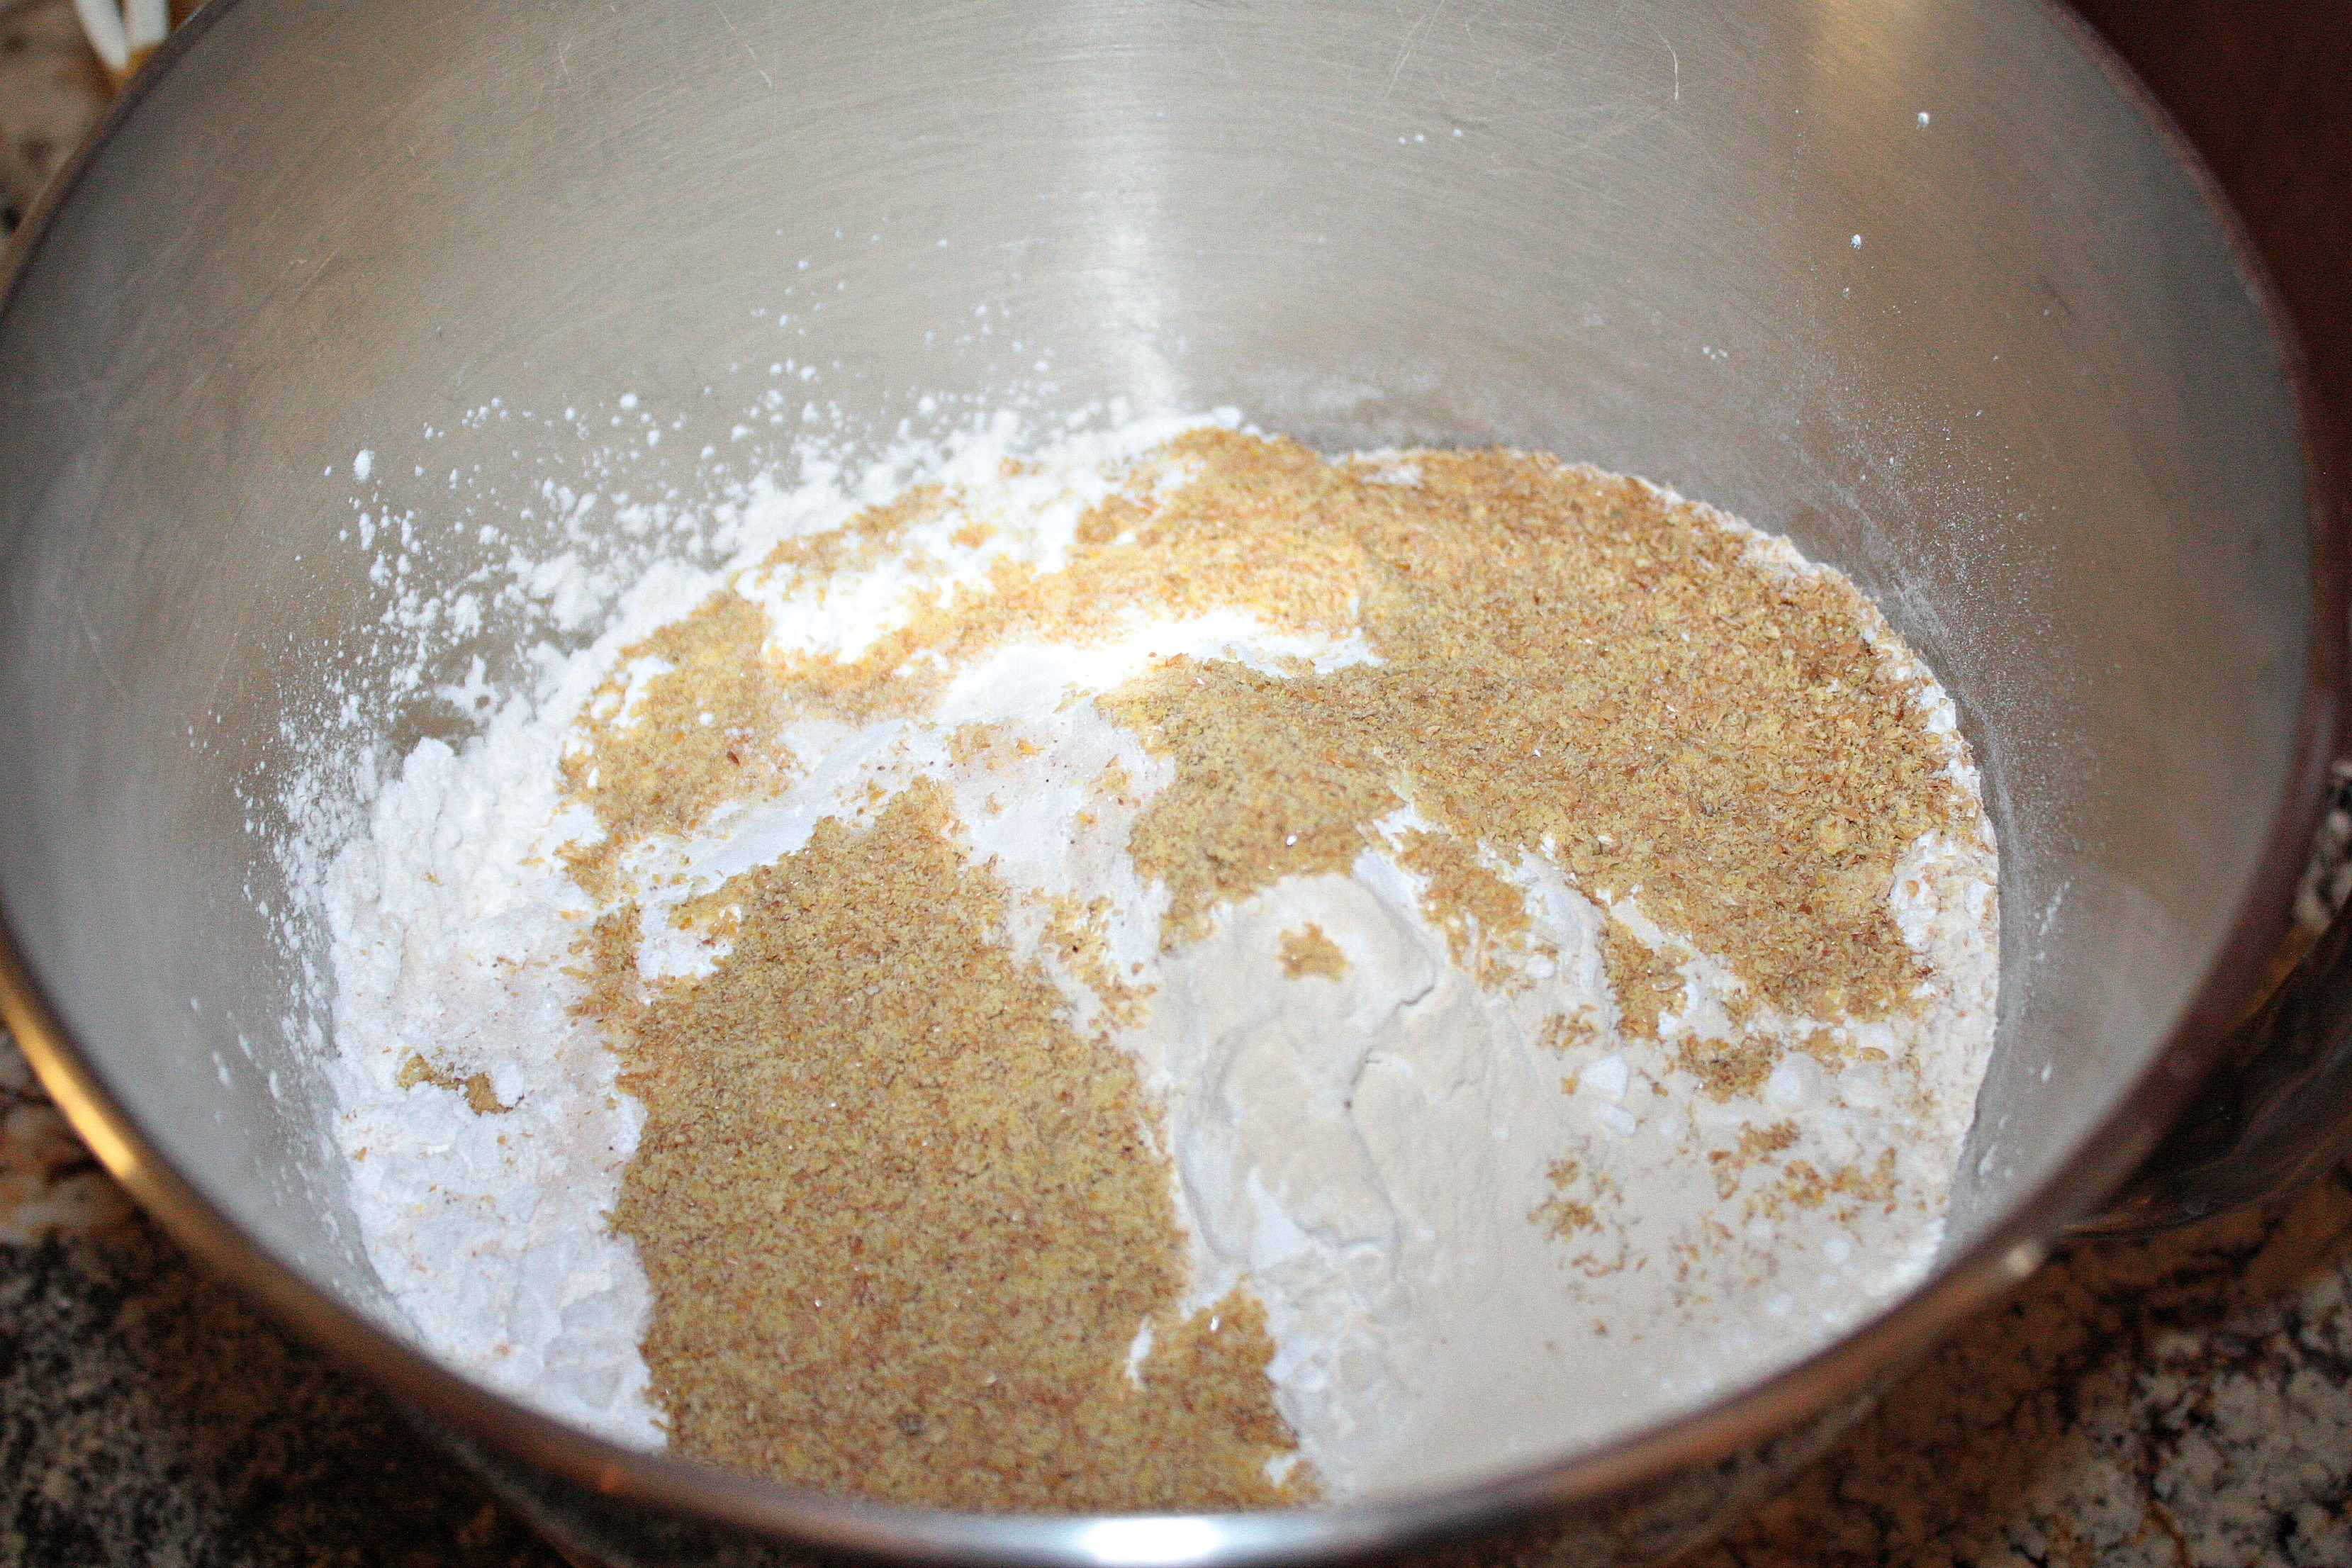
Measure and pour Part 1 ingredients into a mixing bowl. Easy enough!
Next, grab the saucepan, thermometer, small glass bowl, and Part 3 ingredients. Mix water and sugar in pan on the stove and heat on medium-high until the temperature is between 105˚ and 110˚. Once the liquid reaches the correct temperature, pour into a glass bowl.
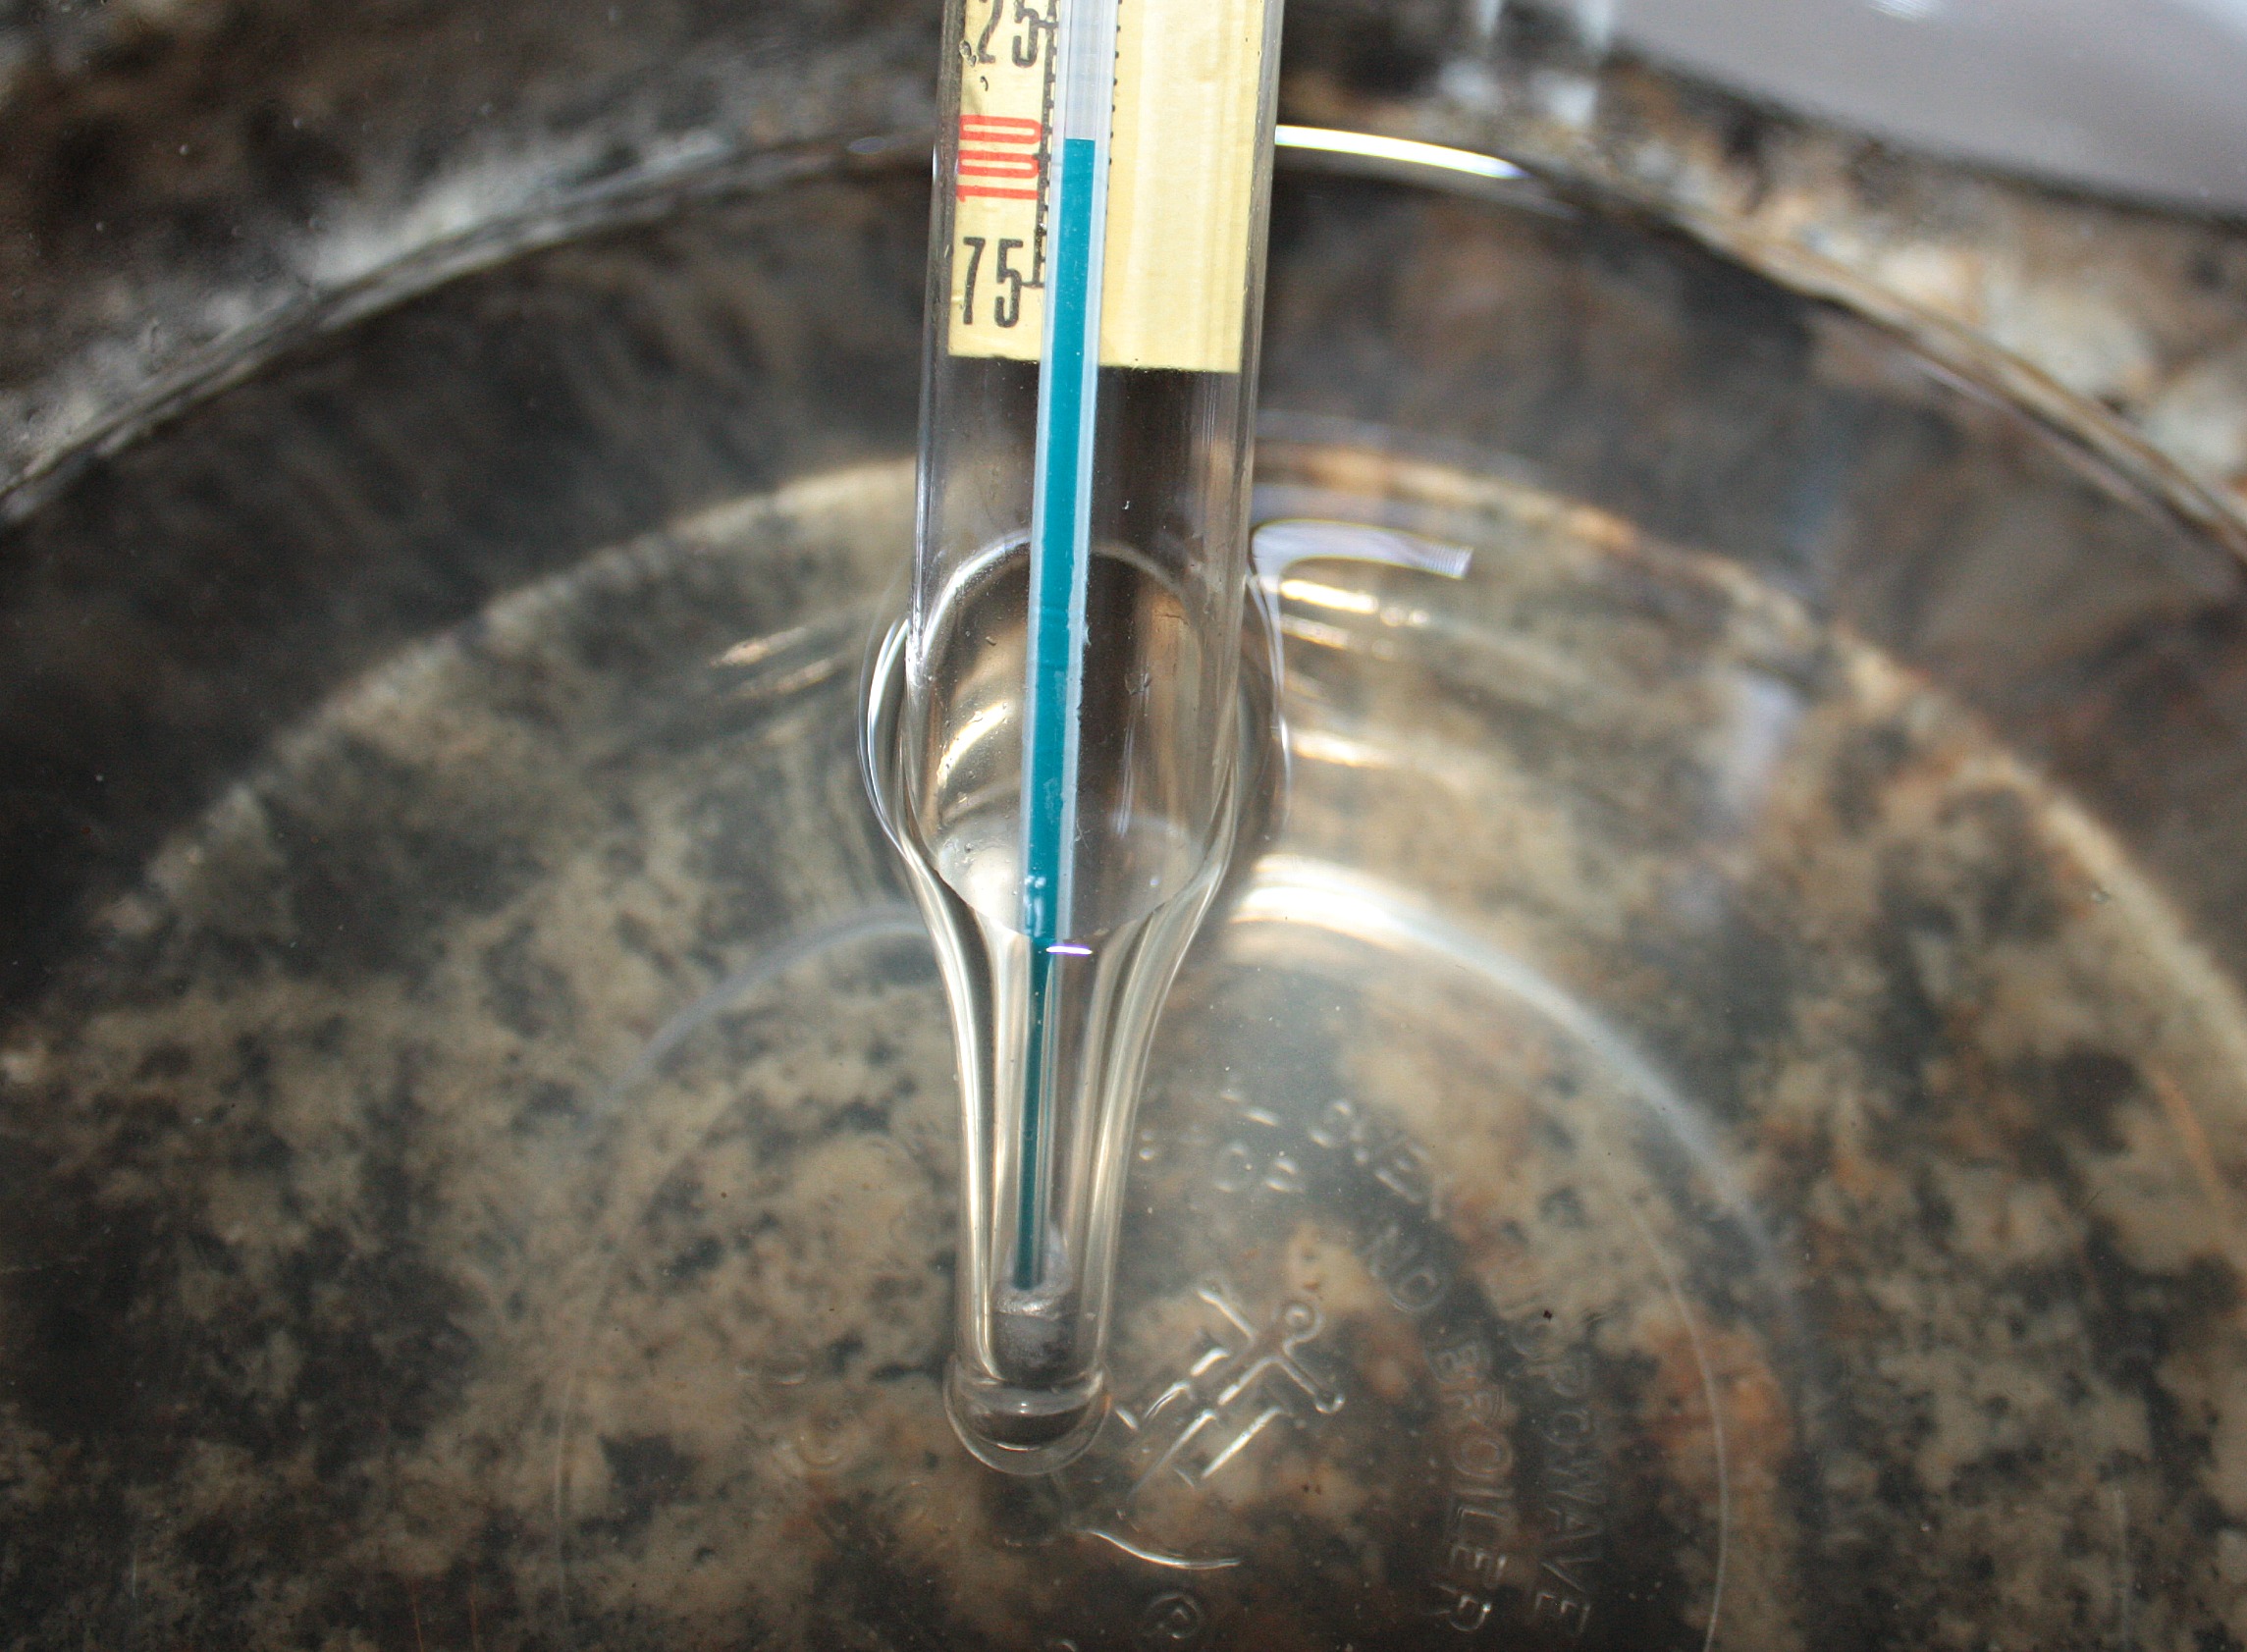
Once heated, pour the water into a glass bowl and check the temperature again (105˚ – 110˚).
Now it’s time for my kids’ favorite part (okay, mine too); proofing the yeast (proving it is indeed going to work). Add the yeast to the water and sugar mixture. I give mine a little swirl with the thermometer and set the timer for 7 minutes. (At this point you can either watch the yeast devour the sugar water or move on.)
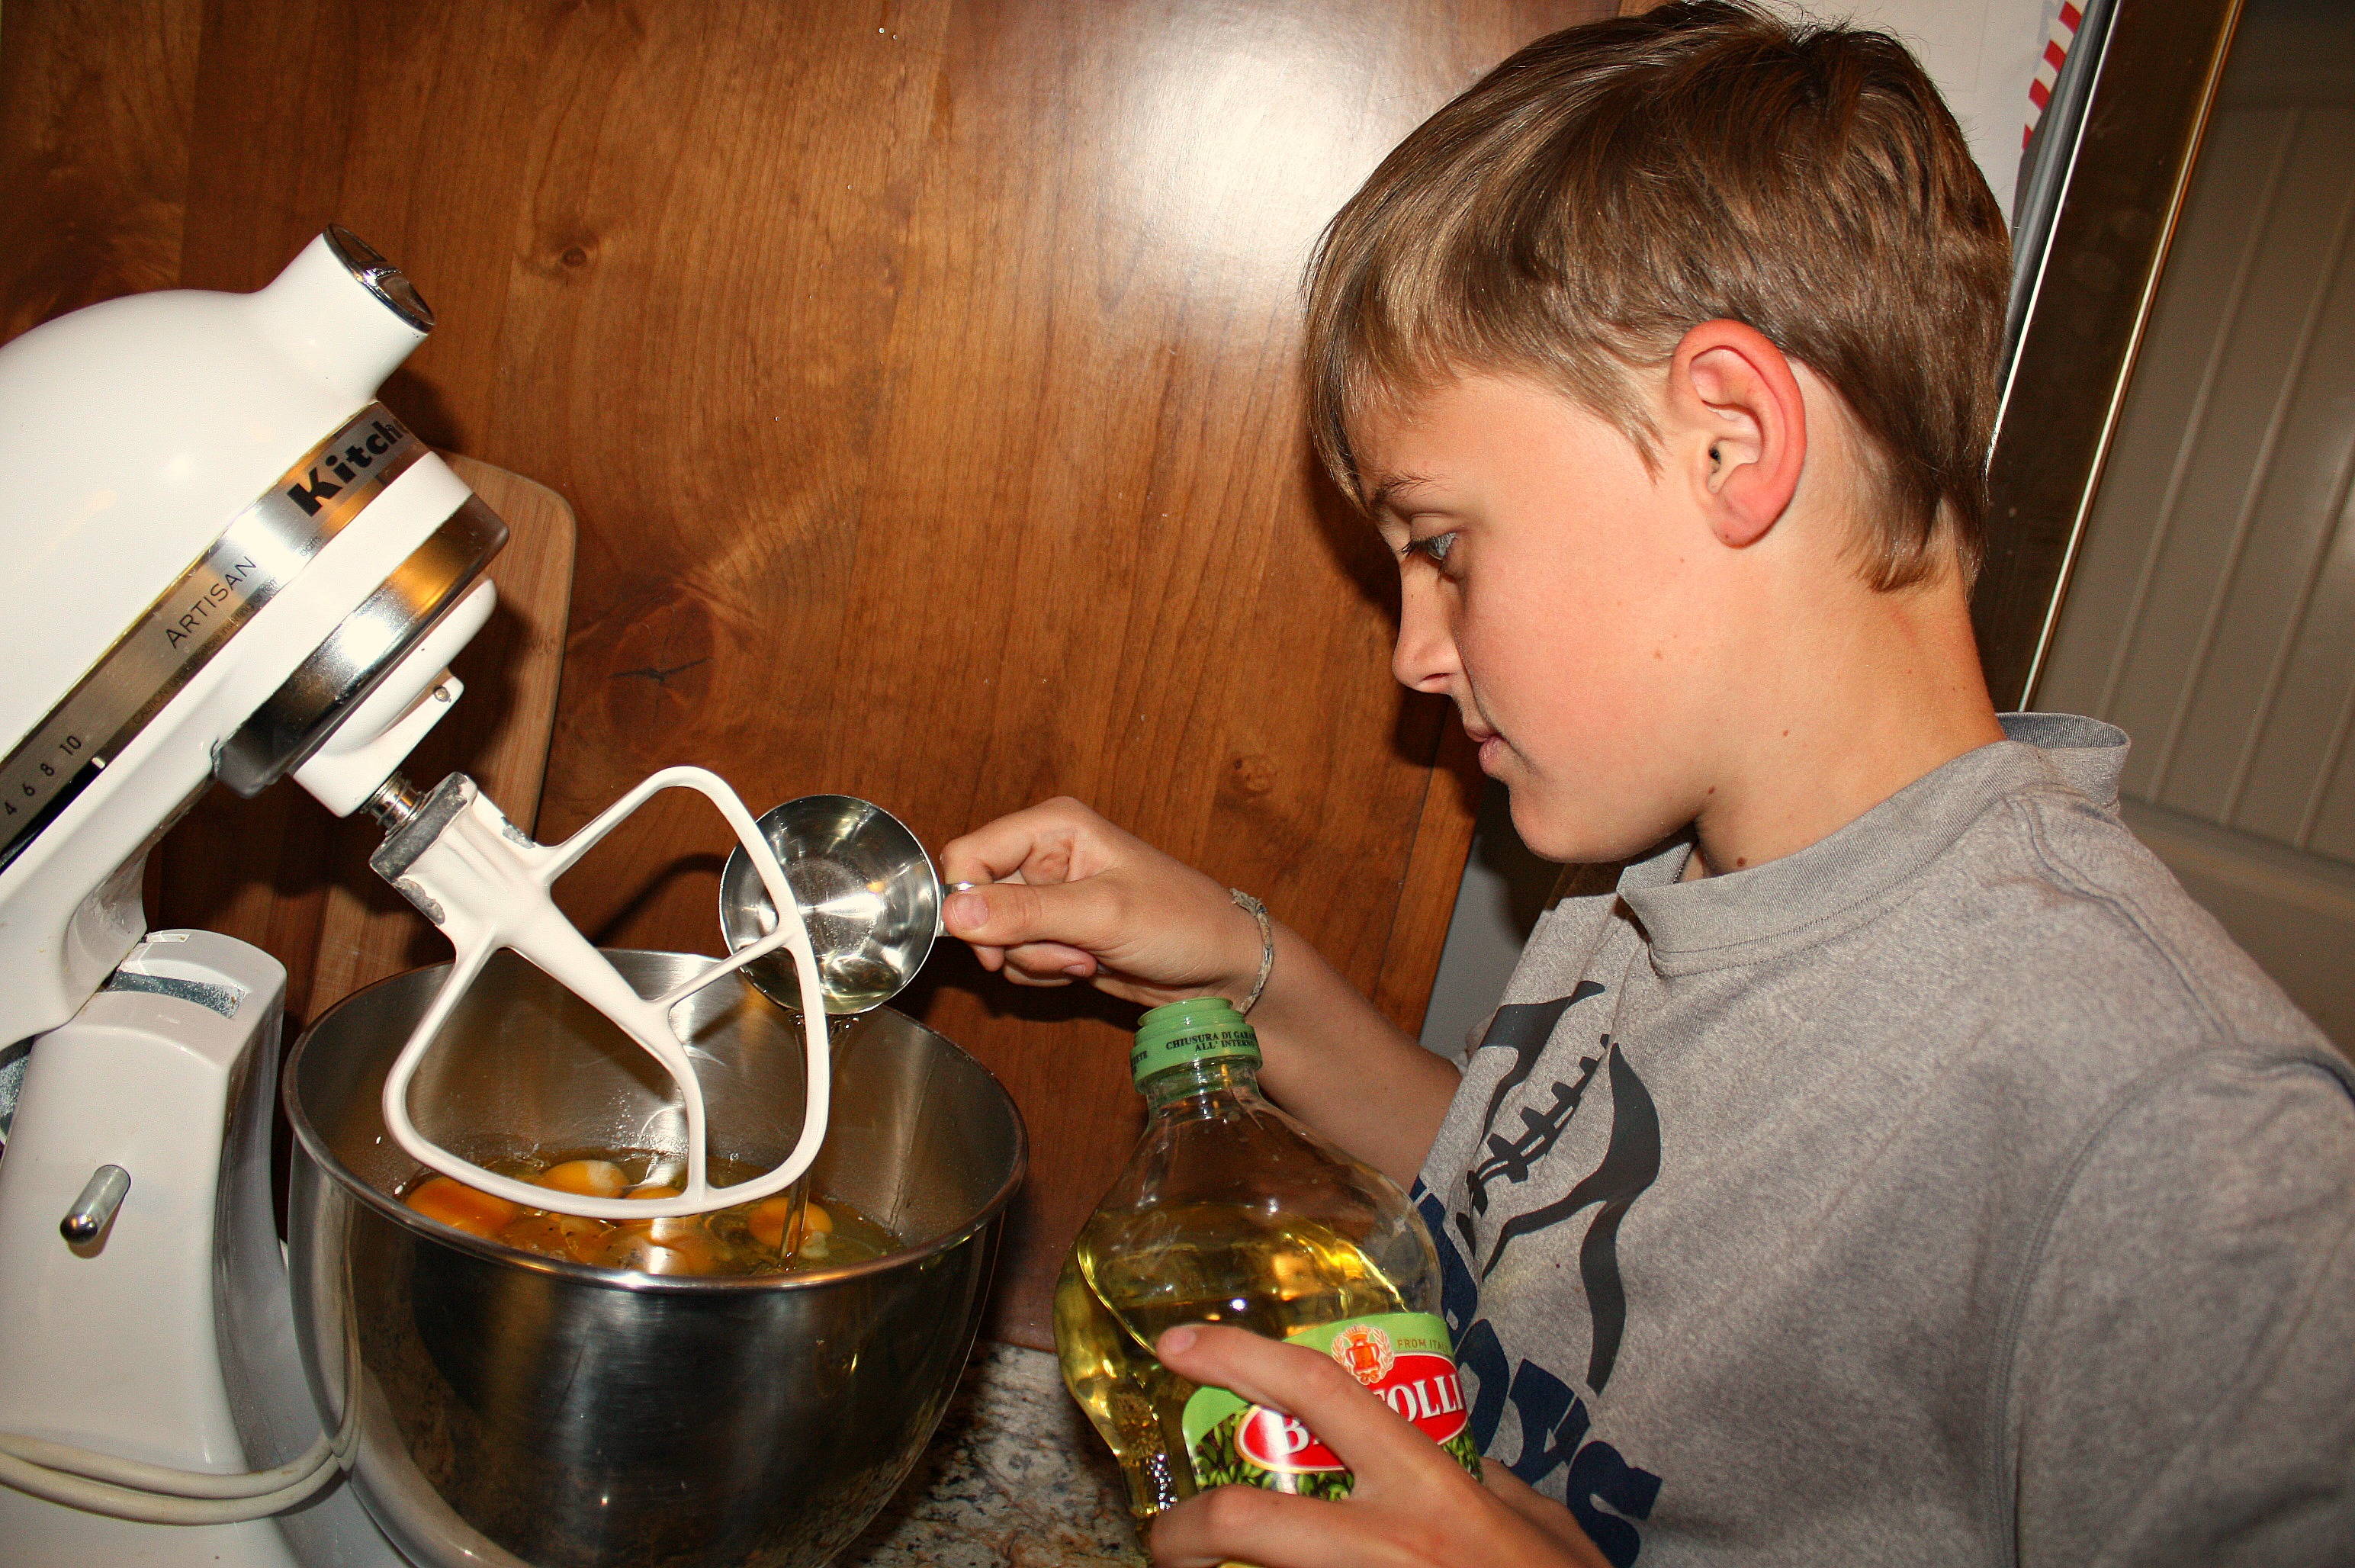
While that’s proofing; start adding all of the Part 2 ingredients to the mixing bowl EXCEPT for the melted coconut oil. As soon as the timer goes off, check the yeast. It should look similar to this:

Microorganisms in action!
Add the yeast to the mixing bowl and then pour in the coconut oil last (make sure the oil is not too hot).
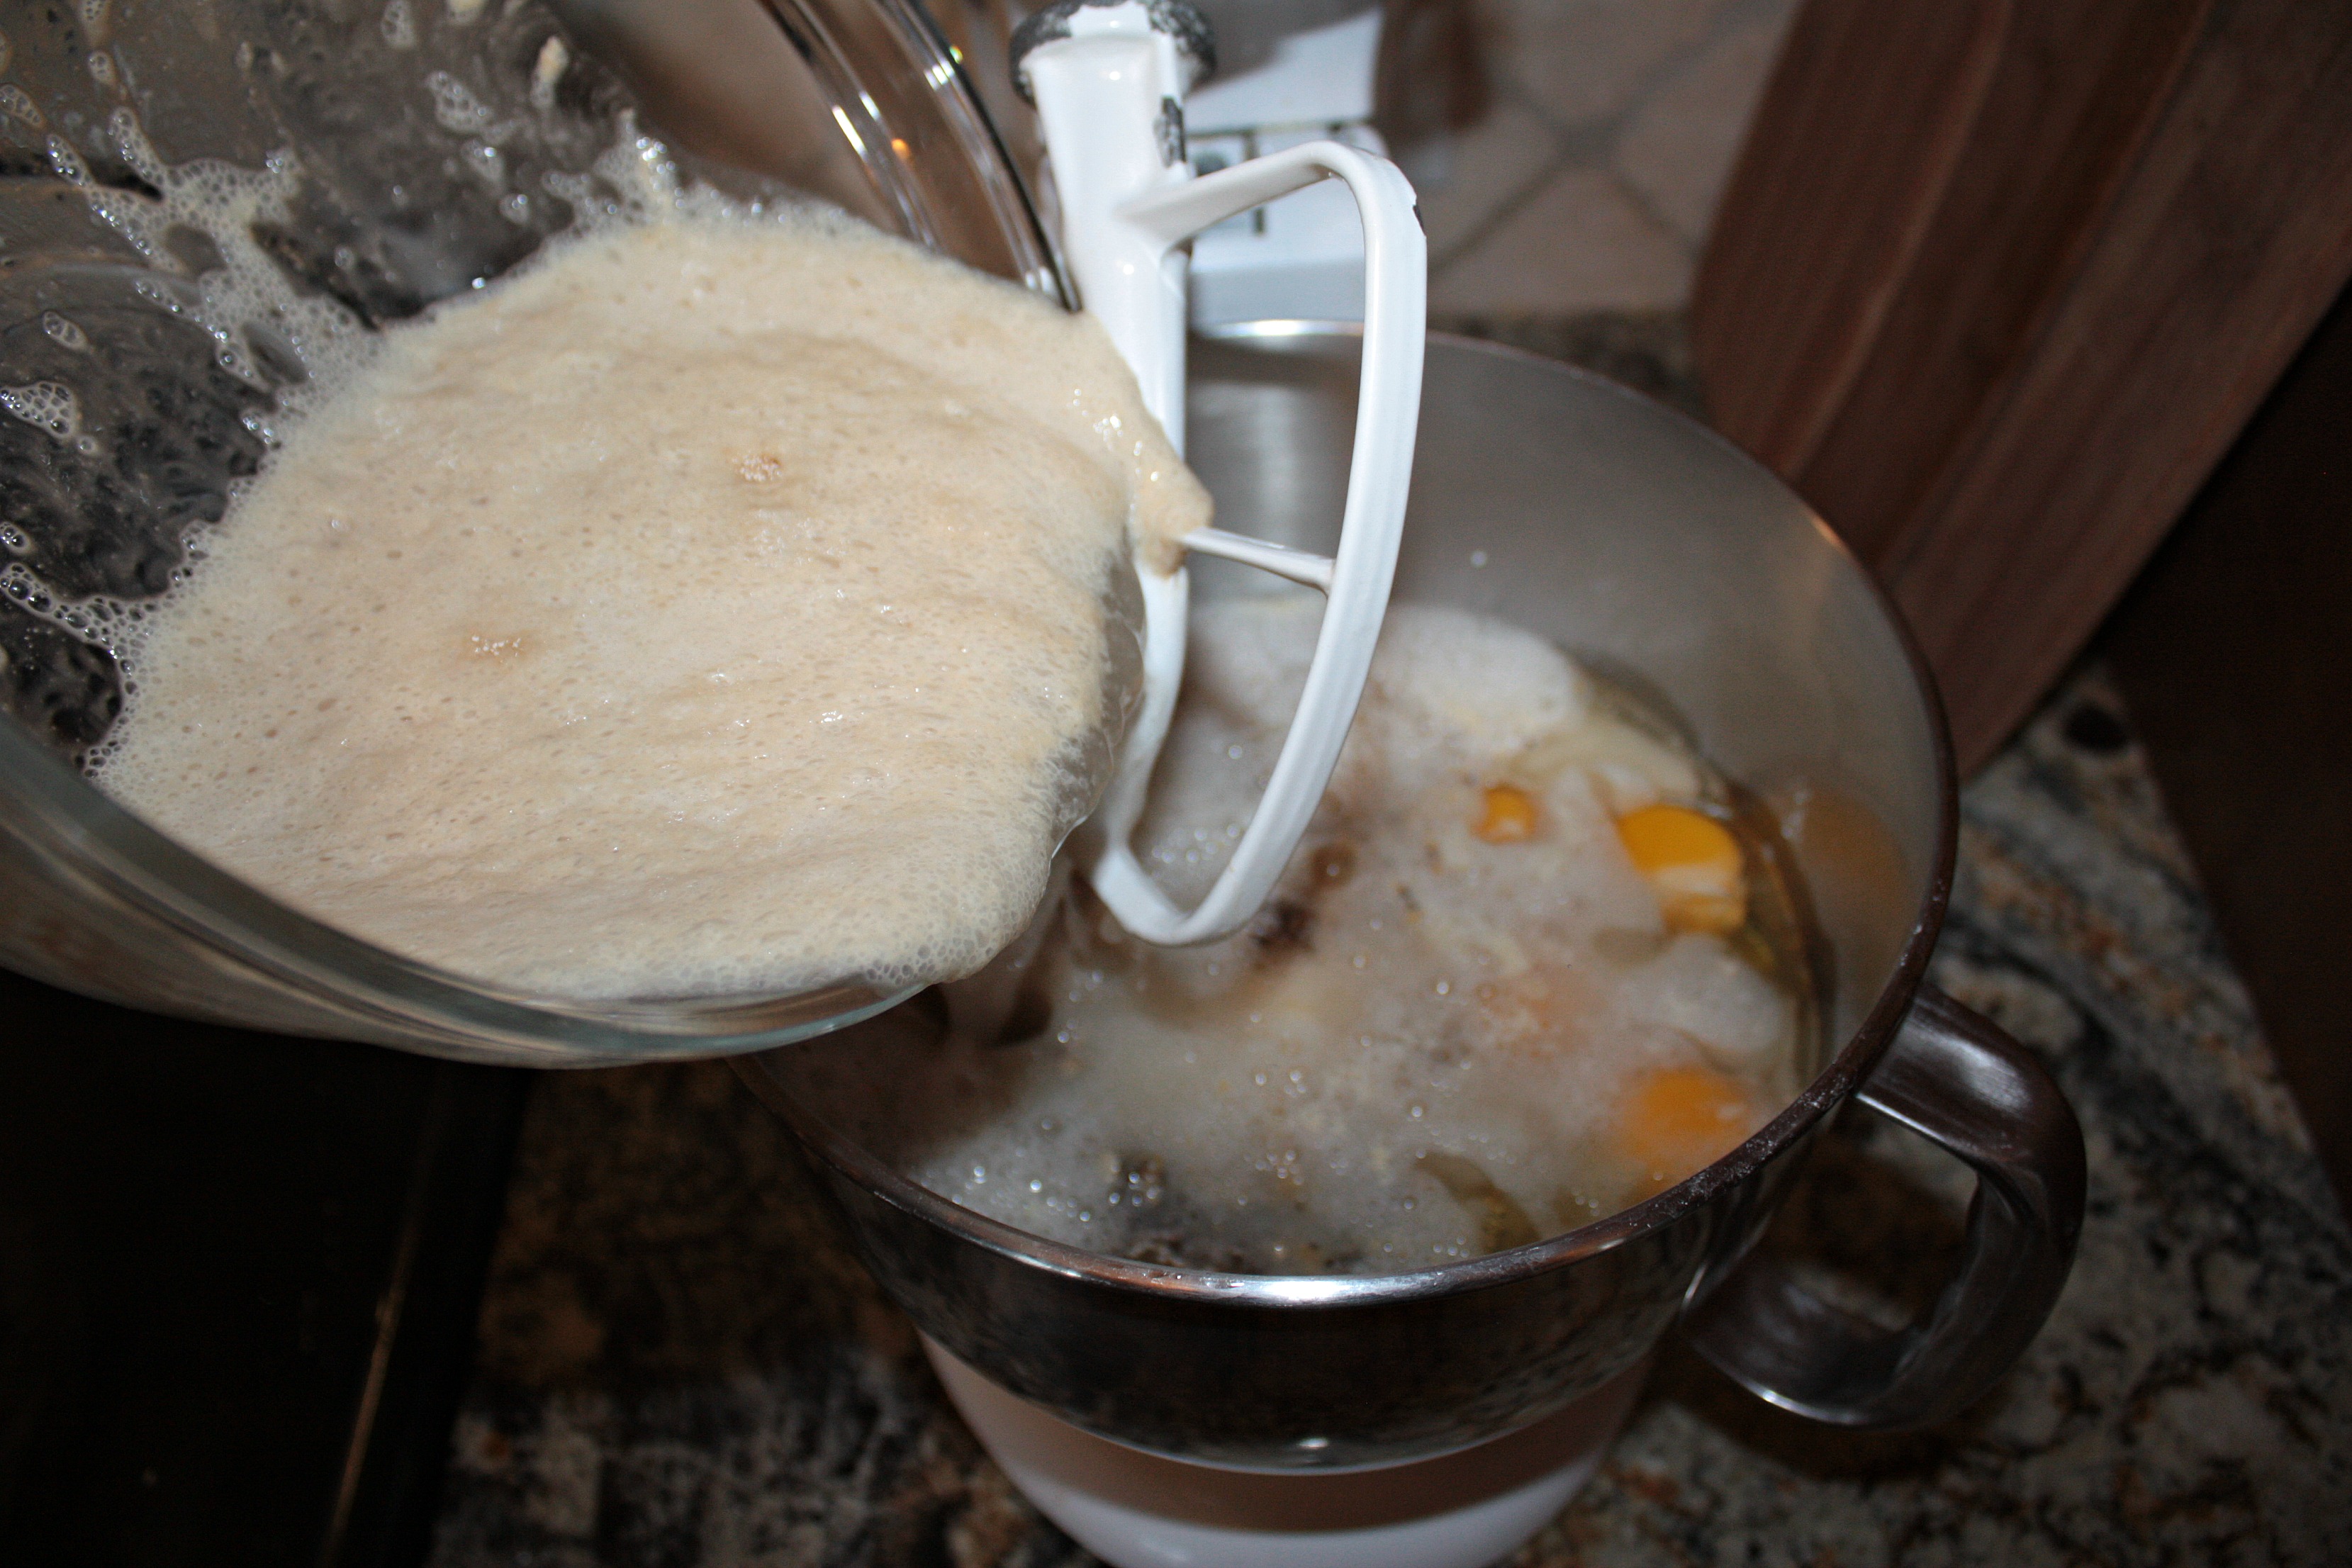
Add the yeast and then melted coconut oil (this keeps the coconut oil from hardening back up).
Start mixer on low speed; moving to a medium speed once all of the ingredients are wet. Continue blending until it is thoroughly mixed (about 1 – 2 minutes). Divide into two 9×5 GREASED loaf pans. Using the back of a wooden spoon, smooth the dough into the pans (wet the spoon if it sticks). This will help press out any air bubbles.

Ready to rise! I added chia seeds to this particular mix.
Set the bread pans on the stovetop or in a warm area and cover them with a dishtowel. I like to preheat my oven to 375˚ while my bread is rising. (Our house is usually cool and the added temperature makes better bread.) Let the dough rise undisturbed for one hour. (Tennis balls and slamming cabinets can have detrimental effects on rising bread.)
When the dough has completely risen, carefully remove the towel and bake GF bread in the oven for 25 minutes. Once the time is up, continue cooking in five minute increments until the crust is dark brown. Thump the top of the bread, checking for that distinct hollow sound.
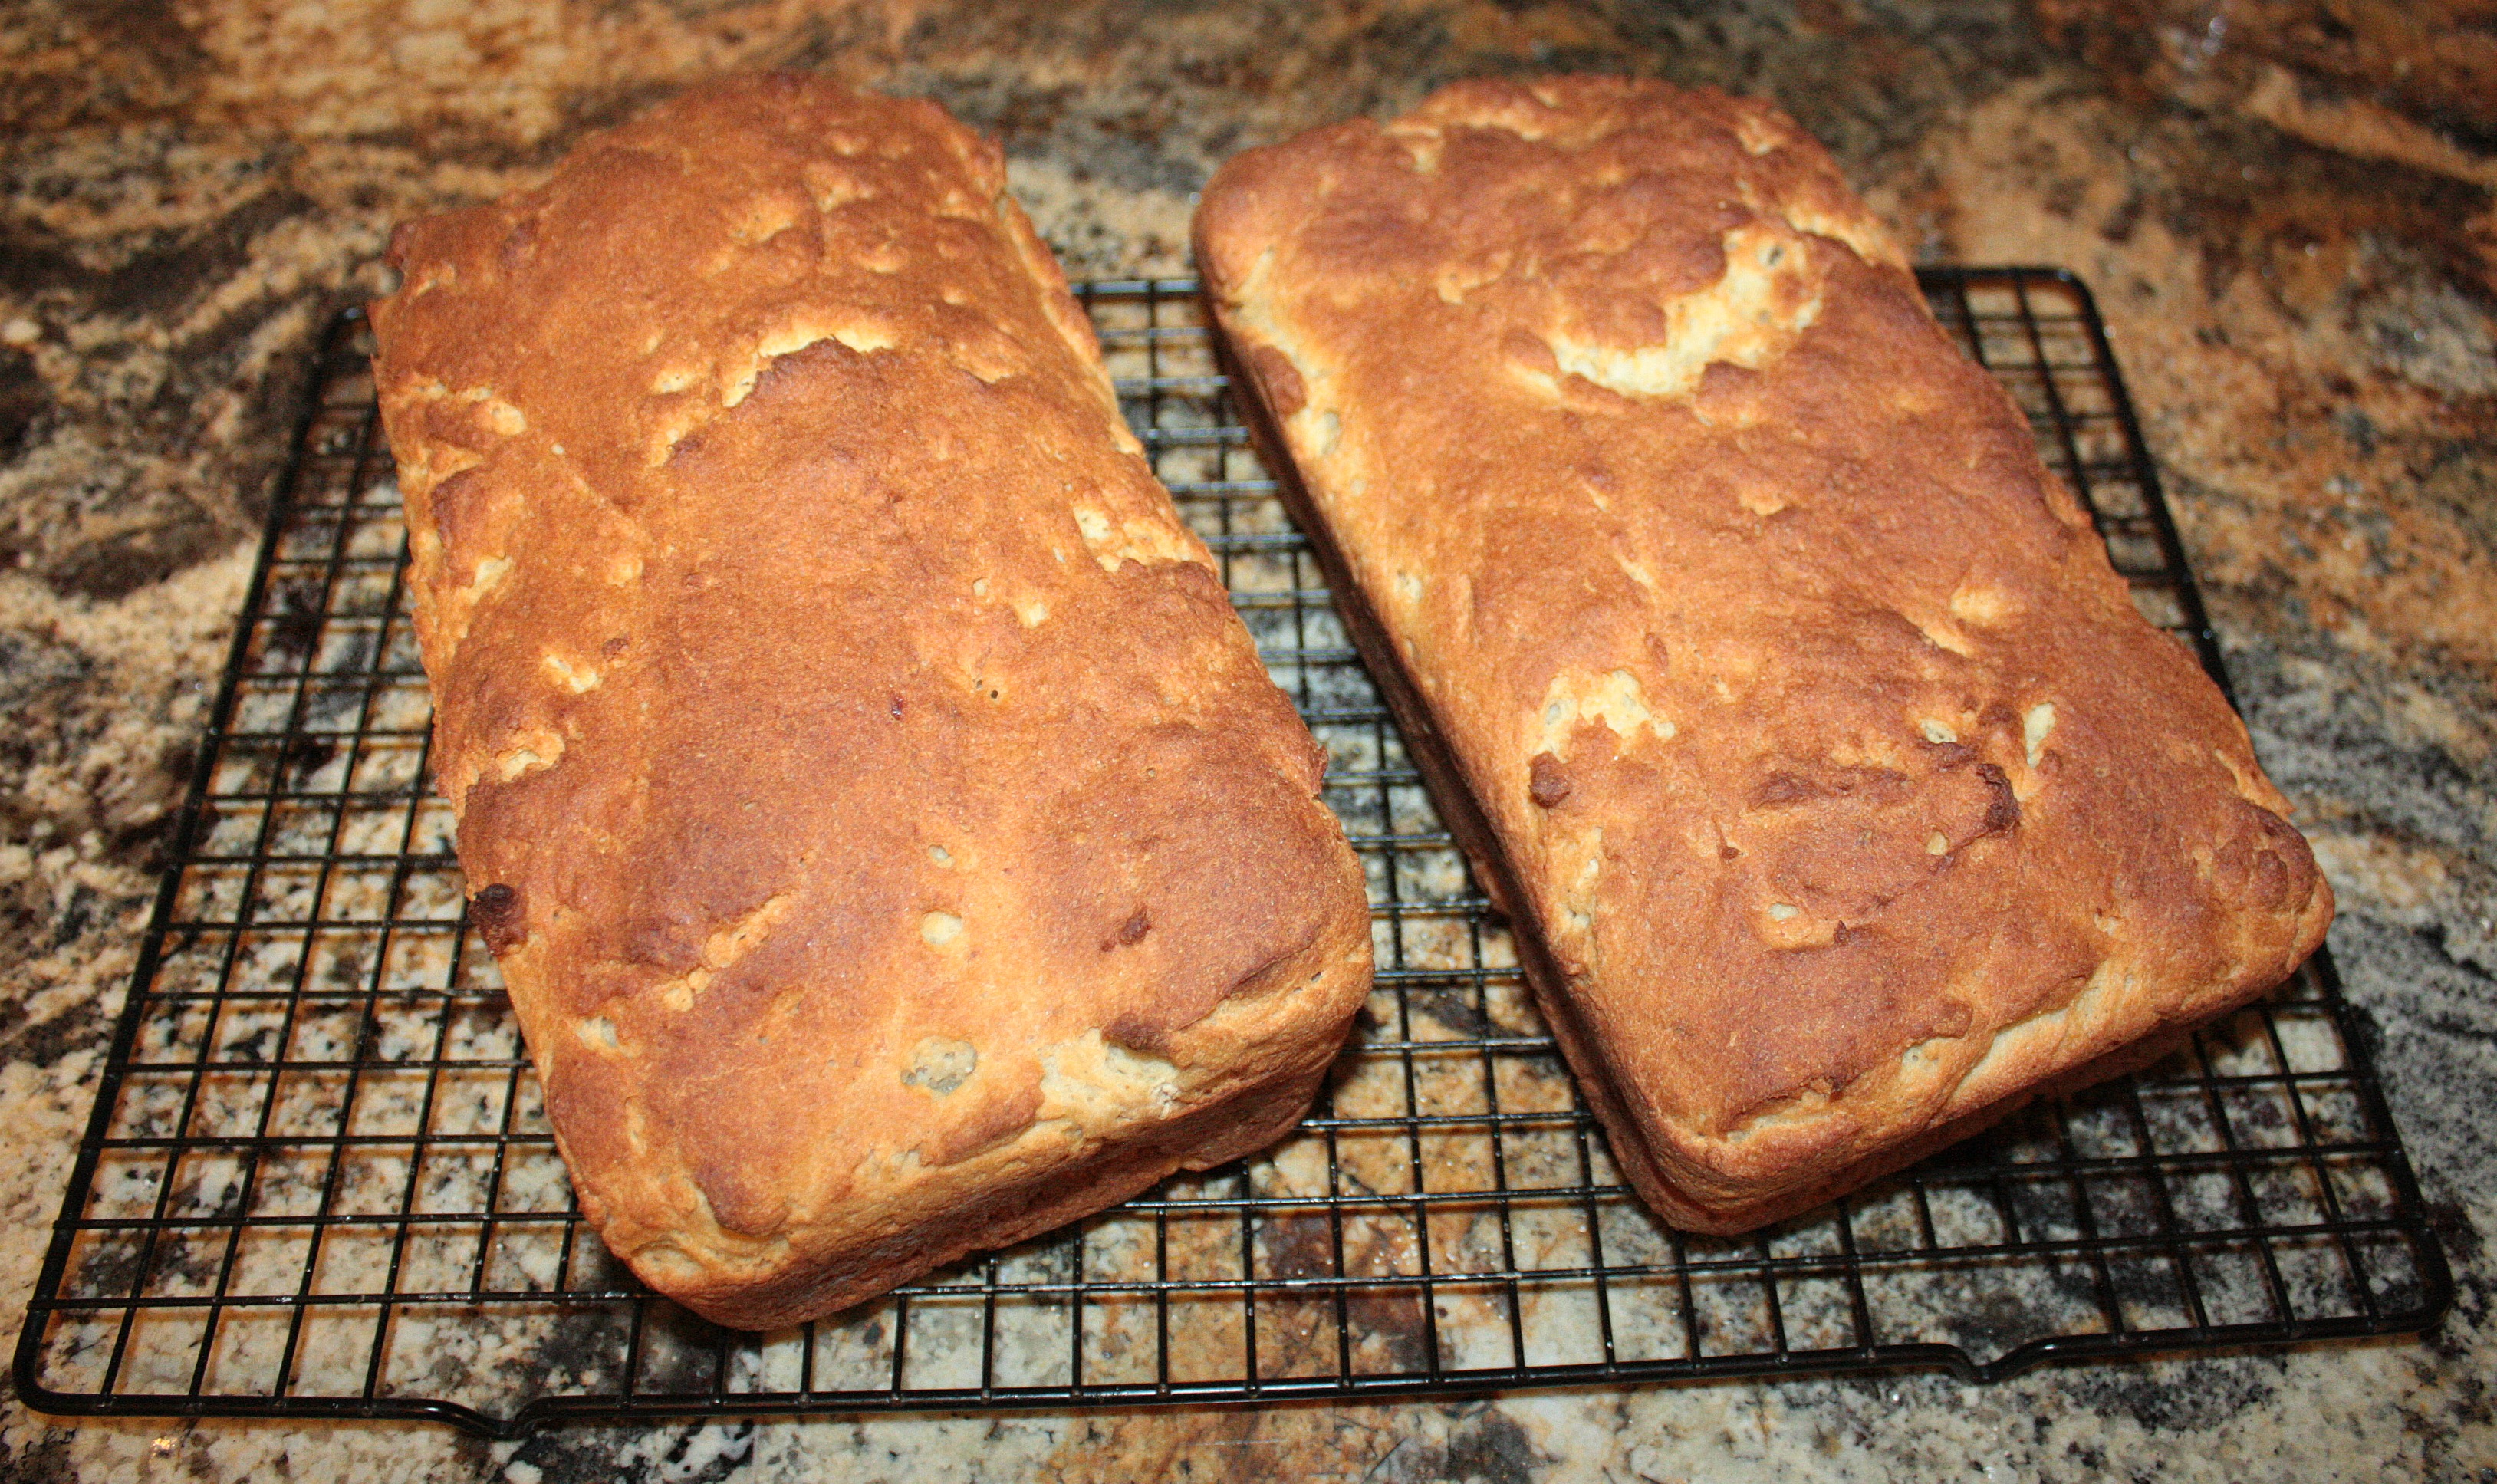
Allow to cool completely on a wire rack.
We usually end up eating almost an entire loaf as soon as it comes out of the oven but it cuts a lot cleaner when it has had time to cool completely. At that point, slice your bread and store it in bread bags or Ziplocs in the freezer. (If there is any heat in the bread when it goes into the freezer, the pieces will stick together.)
Variations:
Will and I love seeds in our bread! Unfortunately, my kids don’t. Sometimes I will divide this recipe in half and make a loaf just for dad and mom with chia seeds, sunflower seeds, and quinoa flour. In order to keep the bread from becoming too dry (chia seeds suck the moisture out), make sure and add an extra egg plus a few more tablespoons of either coconut or olive oil. Here are my suggested changes below:
2 to 3 Tbsp. chia seeds
2 to 3 Tbsp. sunflower seeds
Instead of 2 2/3 cups brown rice flour, use just 2 cups brown rice flour and 2/3 quinoa flour.
Add one extra egg
Increase coconut oil to 1/3 cup or add 2 to 3 extra Tbsp. olive oil
Eliminate baking powder
(I have also experimented with pumpkin seeds. Anything can be added to this recipe as long as the wet ingredients are increased.)
Enjoy!
Cooking is a great way to teach kids a wide variety of skills. Not only do they enjoy it but it can be a big help for mom when she doesn’t have time to spare in the kitchen that day.
