“Kombucha is really good for your digestive system.”
Smiling in celebration from the next room, I am thoroughly enjoying this “proud mom” moment. My ten-year-old has been listening and is actually sharing what he has learned with his older brother!
“You know, with all of the rubber bands and stuff I swallow, it just helps my body push them right out.”
Okay, so maybe kombucha shouldn’t be used as a means to expel foreign objects from the intestines but he is right about one thing…
Kombucha really IS good for your digestive system!

Kombucha is a refreshing, carbonated beverage packed full of numerous health benefits.
Kombucha tea is said to have originated in East Asia over 2,000 years ago. It is brewed using a SCOBY (symbiotic culture of bacteria and yeast) or zoogleal mat for you science nerds like me. Kombucha has been employed as a means to treat everything from cancer to gout. While there is conflicting literature as to the benefits of kombucha, I’m a firm believer in giving something a try when there is ample evidence to support positive results from its use. After bringing this fermented beverage into our home…
Naysayers = 0
Kombucha = stellar performance!
After suffering from chronic constipation from an early age, my husband (appreciate his permission to write about his experiences) was able to regulate his digestive system within two weeks of using–you guessed it…
Kombucha
That was all the proof needed to completely eliminate Citrucel from the medicine cabinet! I immediately began wondering what else kombucha could do for our family’s health. Here is what I have found through research and personal use:
— Kombucha treats acid reflux by stabilizing the gut and assisting with acid. (Acid reflux is commonly mistaken as a problem with too much stomach acid when in fact, the opposite is true: it is usually aggravated by not enough acid in the stomach.)
— Kombucha contains glucosamines and repairs connective tissue which is crucial for asthma and allergy sufferers.
— Kombucha contains bacterial acids and enzymes that detoxify the body.
— Kombucha restores balance to a body that has repeatedly used antibiotics, treating overgrowth of candida albicans (yeast).
Kombucha is just one of the many ways to incorporate probiotics into our diet along with foods like: yogurt, milk or water kefir and fermented items such as pickles, sauerkraut, and homemade salsa. Most of us are aware that probiotics are good for digestive health but what we don’t often realize is that there are different strains of friendly bacteria found in a variety of foods and drinks. Ingesting a combination of these things will help us obtain optimum gut health, boost our immune systems, and assist in healing the damage done by processed foods.
Aside from its health benefits, our family enjoys kombucha as a replacement for sugar-laden fruit juices and sodas. The fizzy drink is refreshing, unlimited in flavor concoctions, and is another one of those fun “science experiments” in the kitchen.

Kombucha is a naturally fermented beverage that contains a living colony of bacteria and yeast. Aside from being a probiotic, it boasts a long list of beneficial properties.
So where can someone get their hands on a SCOBY and how is kombucha made?
Cultures for Health is a great Website to order starter kits for all things cultured and fermented. Some health food stores will carry starters as well. Another option is to find someone (like me) who brews kombucha and ask them for a SCOBY and starter tea.
Kombucha Tea (Click for a great question and answer page.)
What you will need:
- SCOBY and 2 cups fermented starter tea.
- 8 to 10 tea bags
- White sugar
- Wide mouth glass jar that can hold at least one gallon (cracker jars work great). Just make sure no metal parts will come in contact with your brew.
- Smaller glass bottles/jars for second ferment.
- Boiling pot
- Non-metal measuring cups and spoons
- Vinegar
- Large rubber band/headband
- Paper towel
The MOST important step in making kombucha is sanitizing everything with hot water and vinegar only (ABSOLUTELY NO ANTIBACTERIAL SOAP)! This prohibits the growth of harmful bacteria and also prevents your SCOBY from being killed.
— After sterilizing all of your cooking supplies with hot water and vinegar, bring one gallon of water to a boil on the stove top. (Using a metal pot is fine at this point.)
— Add one cup of organic white sugar and stir until dissolved. (Do not use honey or other sweeteners as they cannot support your SCOBY properly.)
— Remove from heat and add 8 to 10 tea bags.
{INSERT PAUSE}
Let’s talk tea!
You can use white tea, black tea, green tea, and oolong tea (my personal favorite). Avoid flavored teas that contain lots of oils and herbs: they can damage your SCOBY. Using a combination of teas is also fine. My sister has me hooked on using an organic peach oolong tea. Sometimes I use a ginger peach for a darker, richer brew. Both make a nice base for future flavoring!
— (At this point you can either pour the hot water and tea bags into the EMPTY, sterilized container you will be using to brew the kombucha (this is necessary when making several batches) or leave it in the pot to cool. I usually allow mine to sit overnight or I will make it first thing in the morning and let it cool all day.)

I allow my tea bags to steep until the liquid is completely cooled to create a stronger flavor.
— Once the tea is completely cooled, strain out the tea bags.
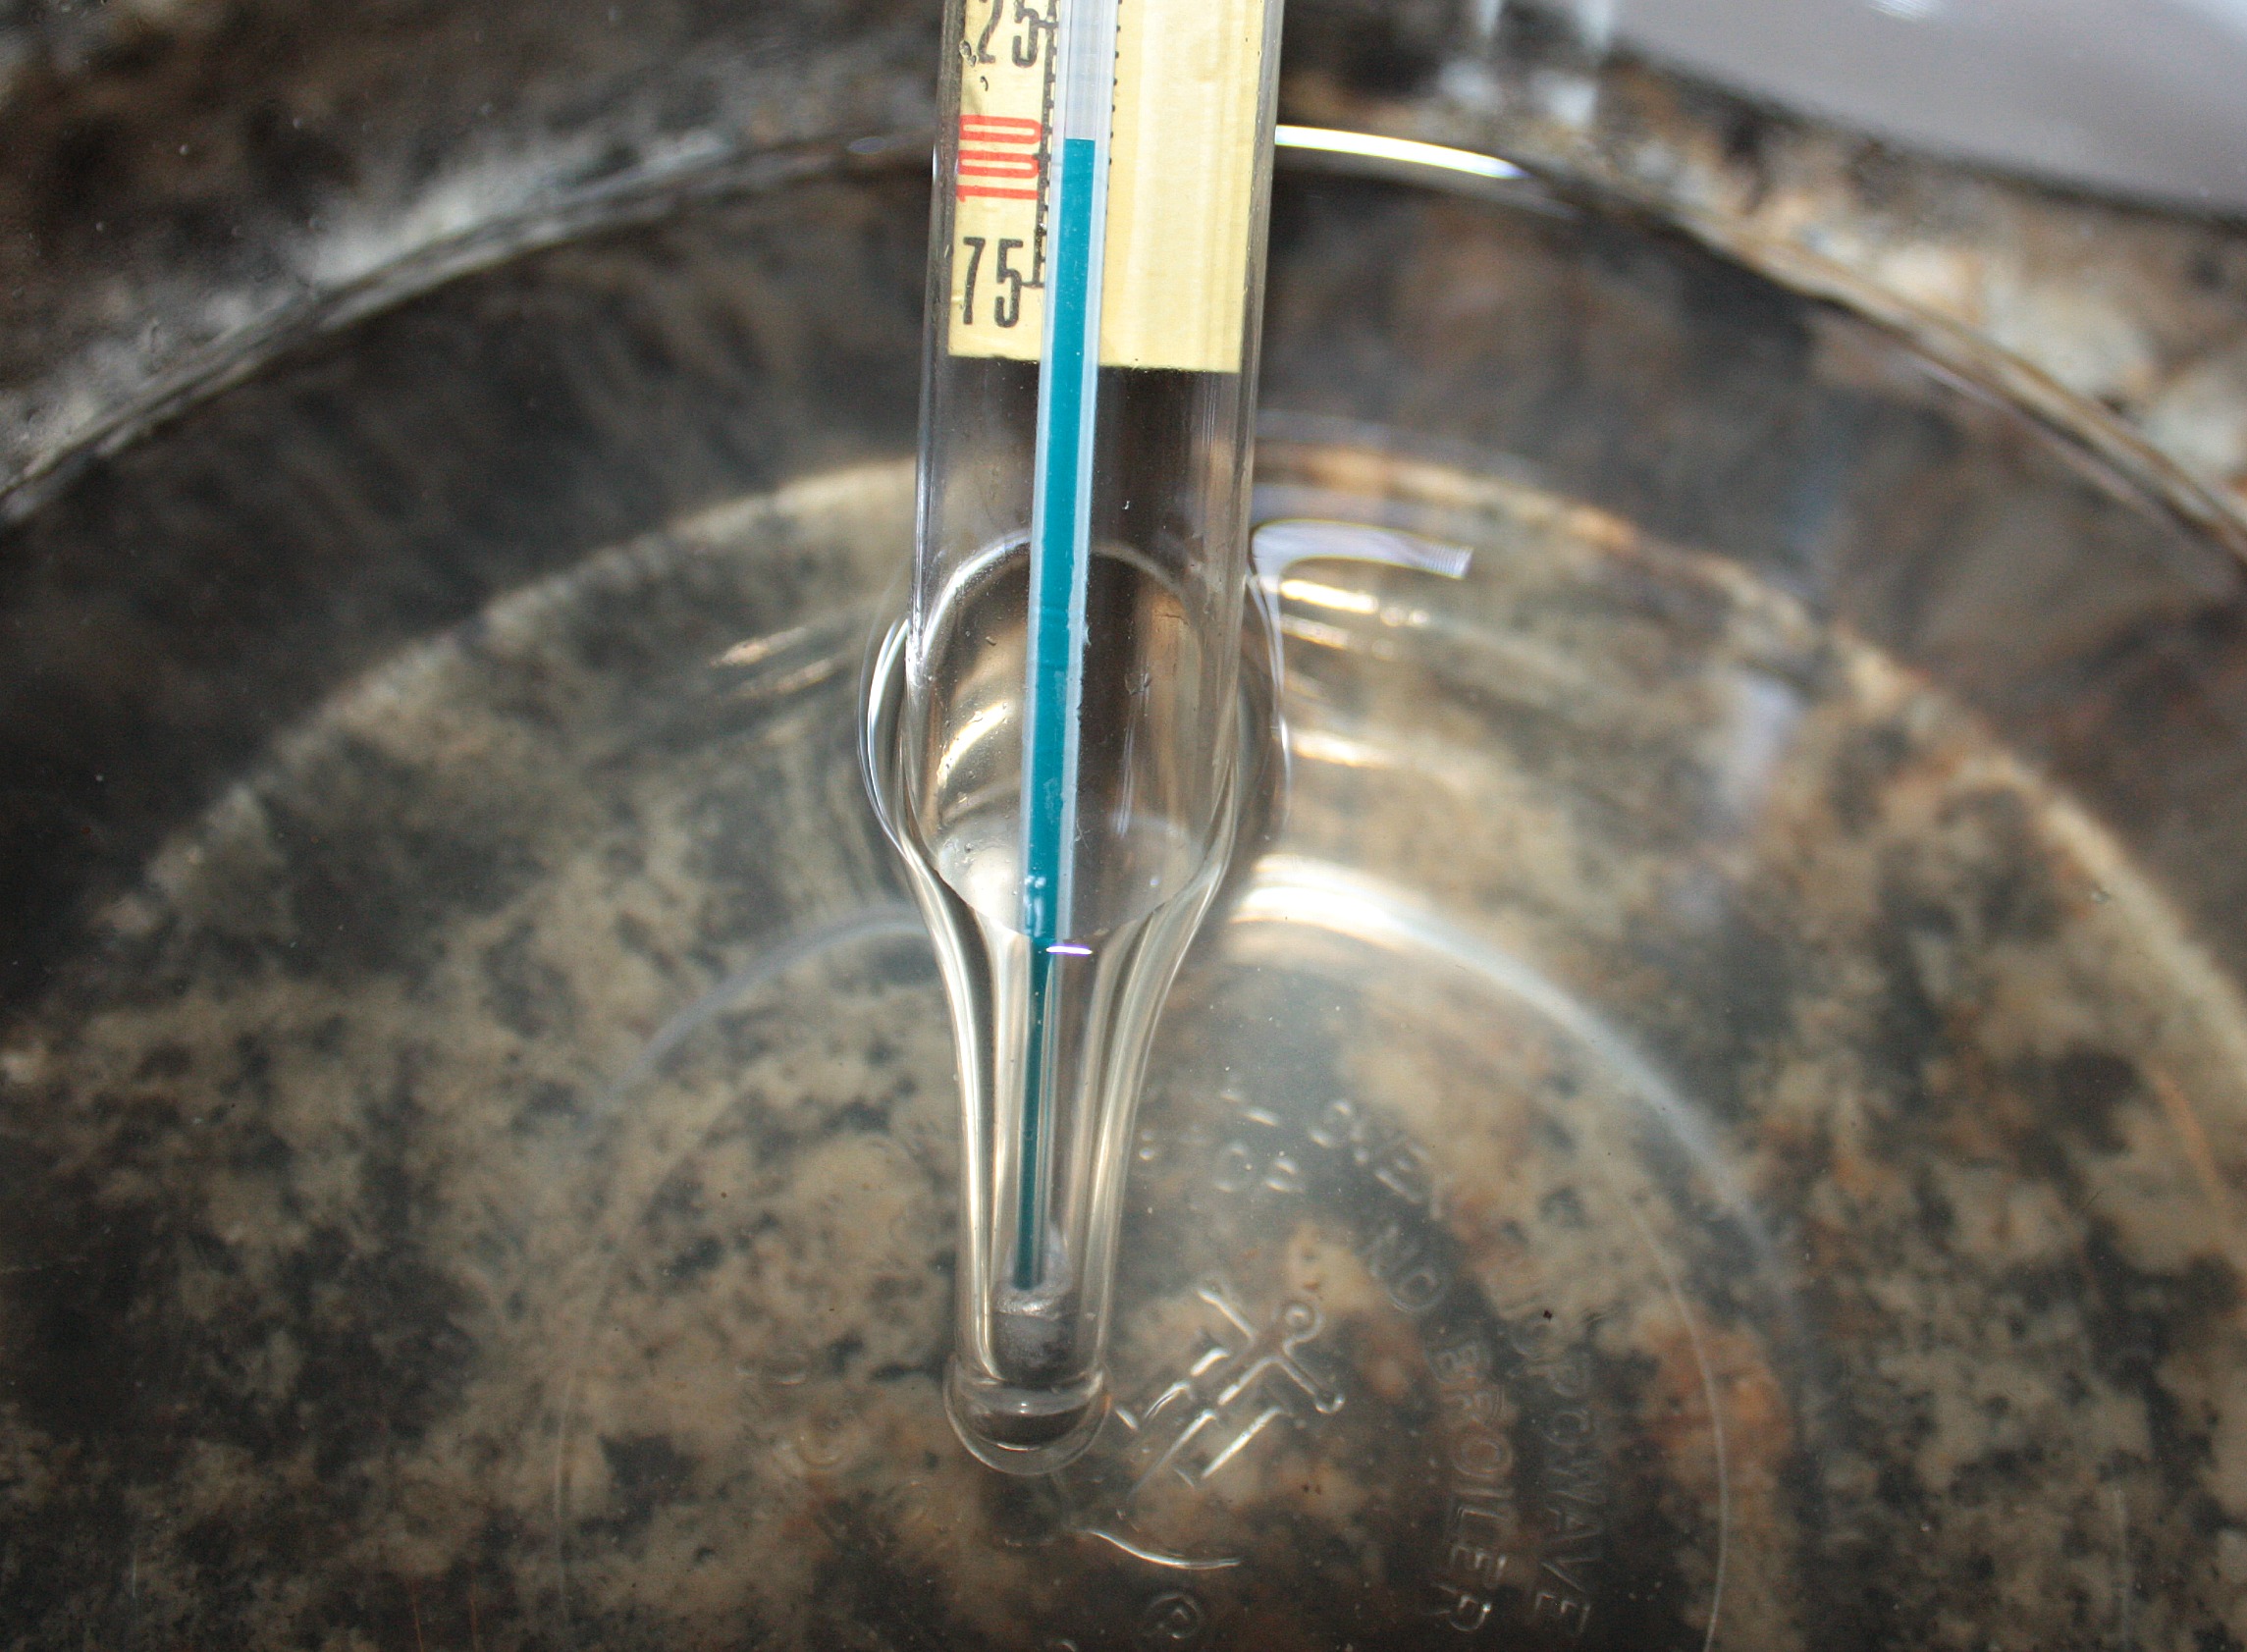
— If you haven’t already, pour cooled tea into an empty and sanitized glass jar. (Remember that if the mixture is not at least room temperature you may damage or kill your SCOBY.)
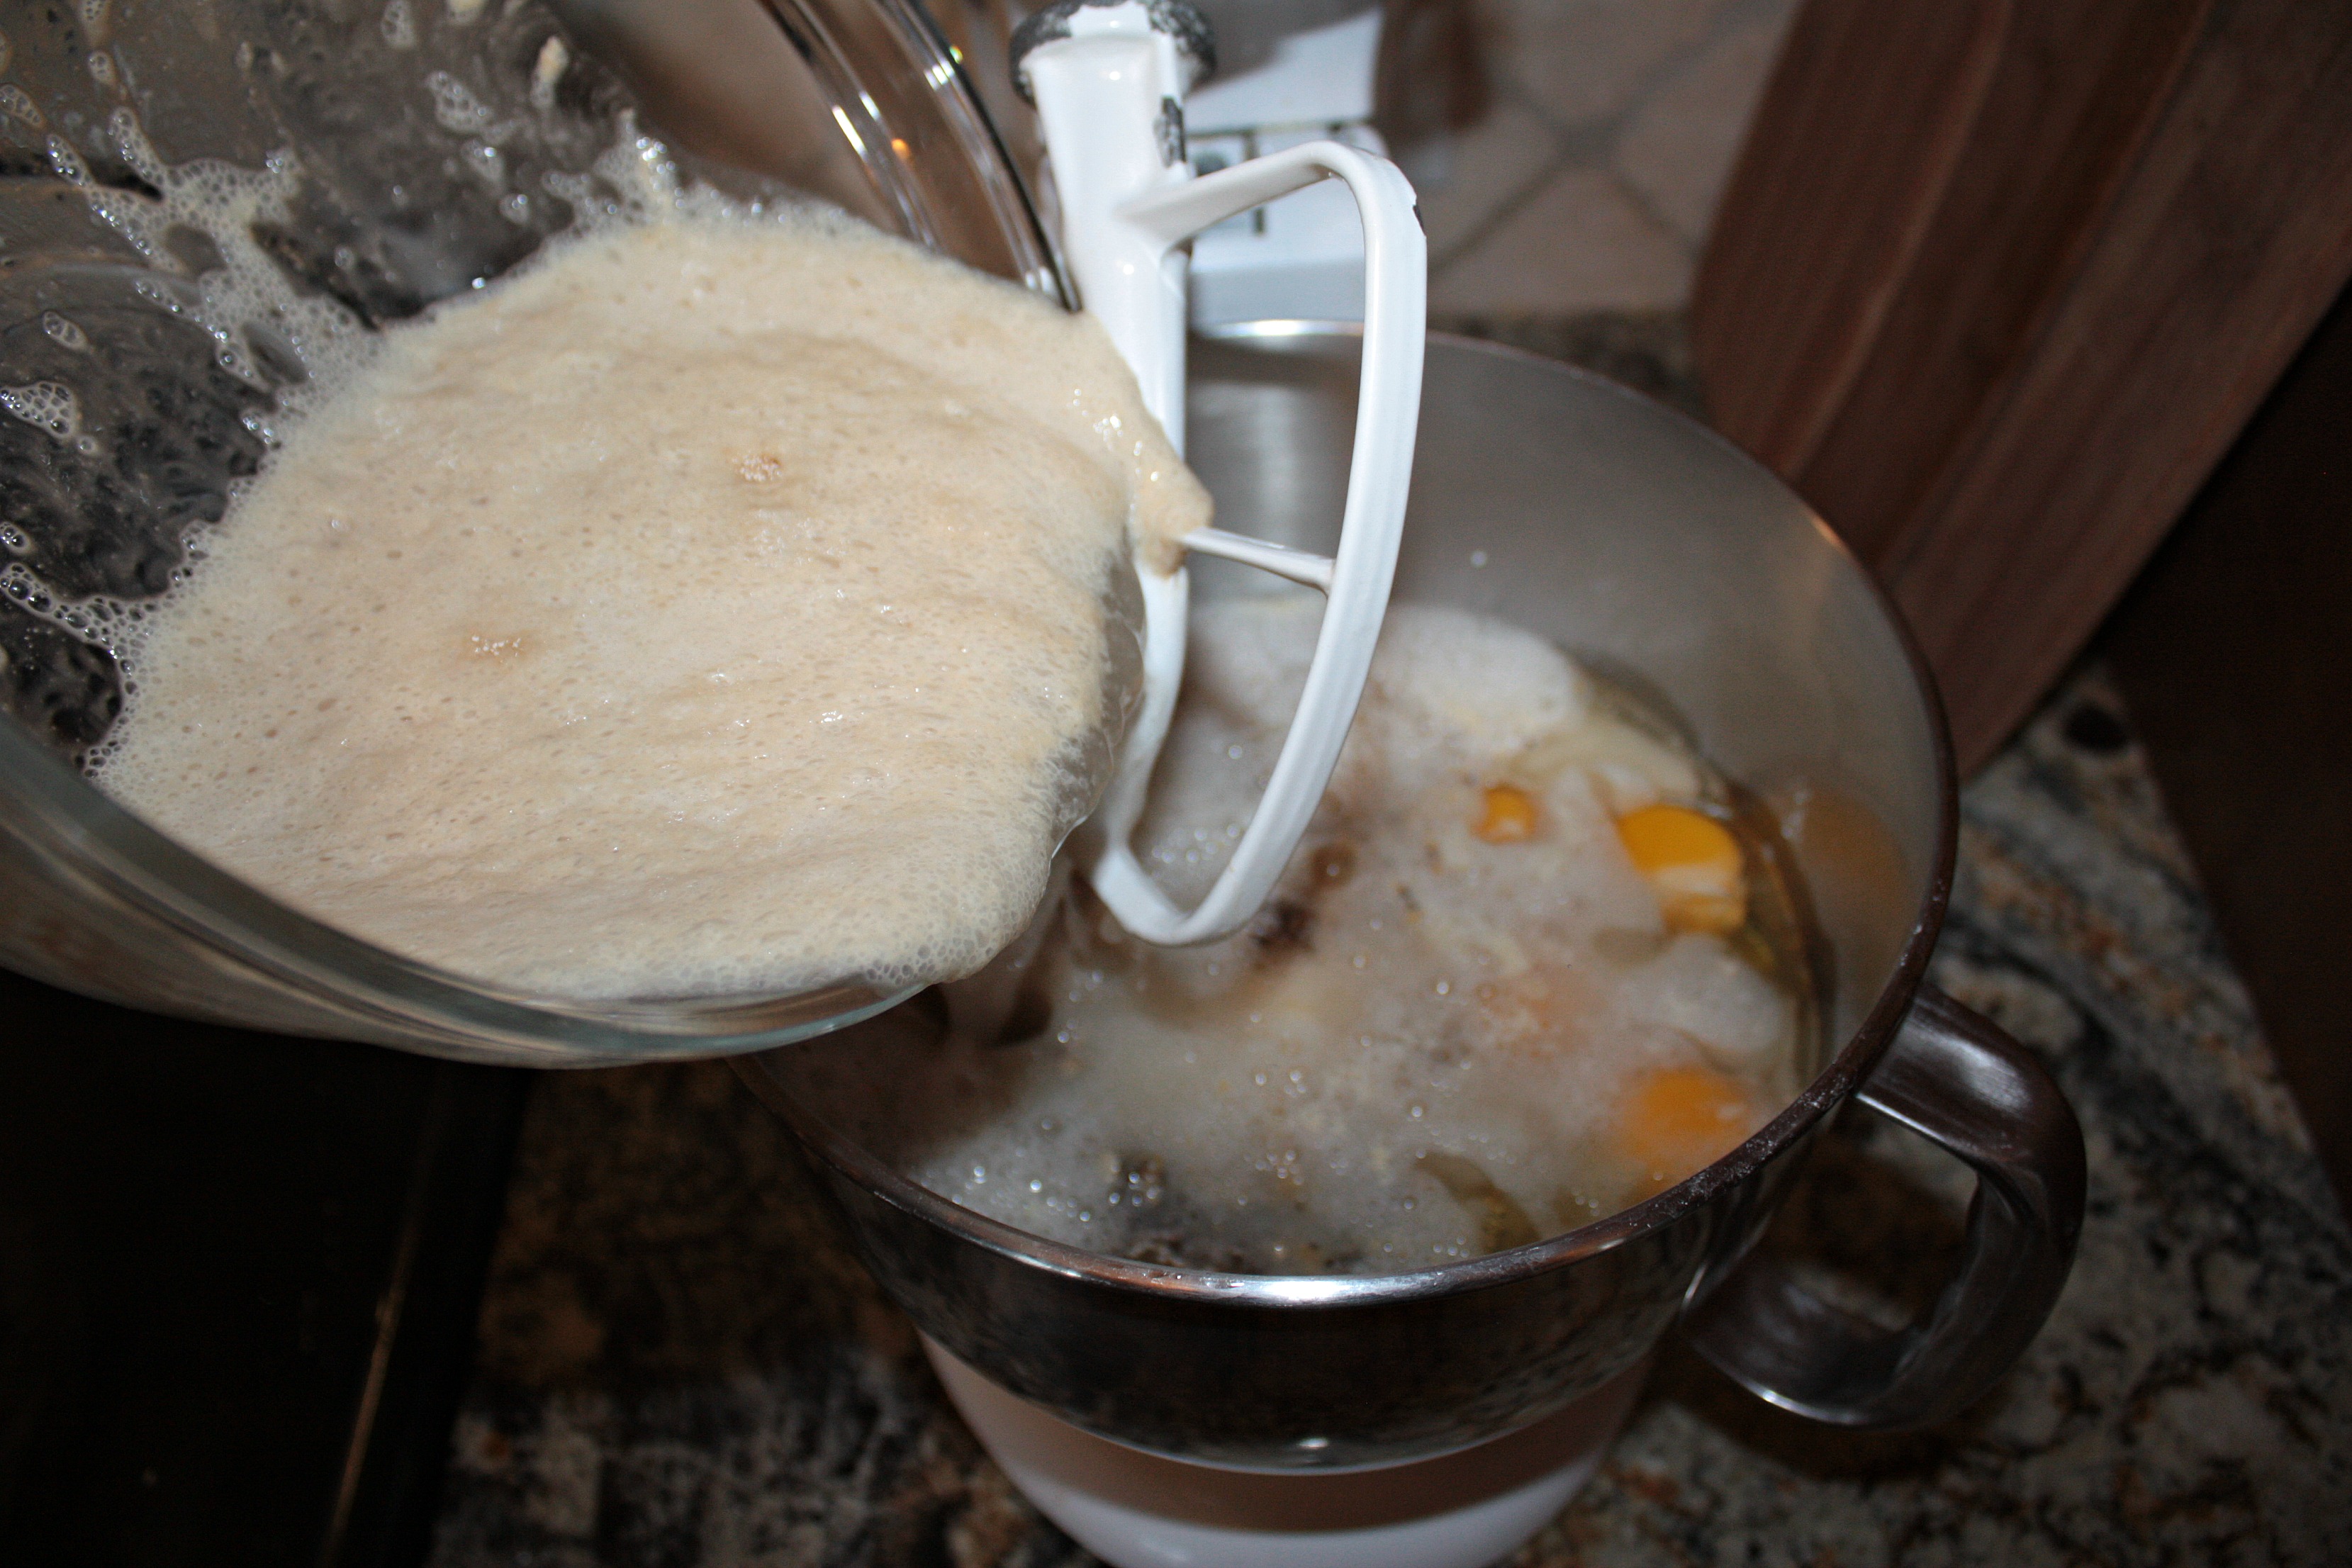
— Pour 2 cups of starter tea and SCOBY into the brew.

It’s alive!!! Healthy bacteria and yeast work together to form a SCOBY on the surface of the brewing kombucha.
— Secure a tightly woven paper towel with a rubber band around the top of the jar. (I like Viva paper towels and prefer using a headband.) Do not use cheese cloth or any other material that can be penetrated by gnats!
— Set jar in warm area away from other culturing foods. Above 70˚ is best. I ended up purchasing a seedling mat this winter to speed up the fermenting process because our house stays very cool.
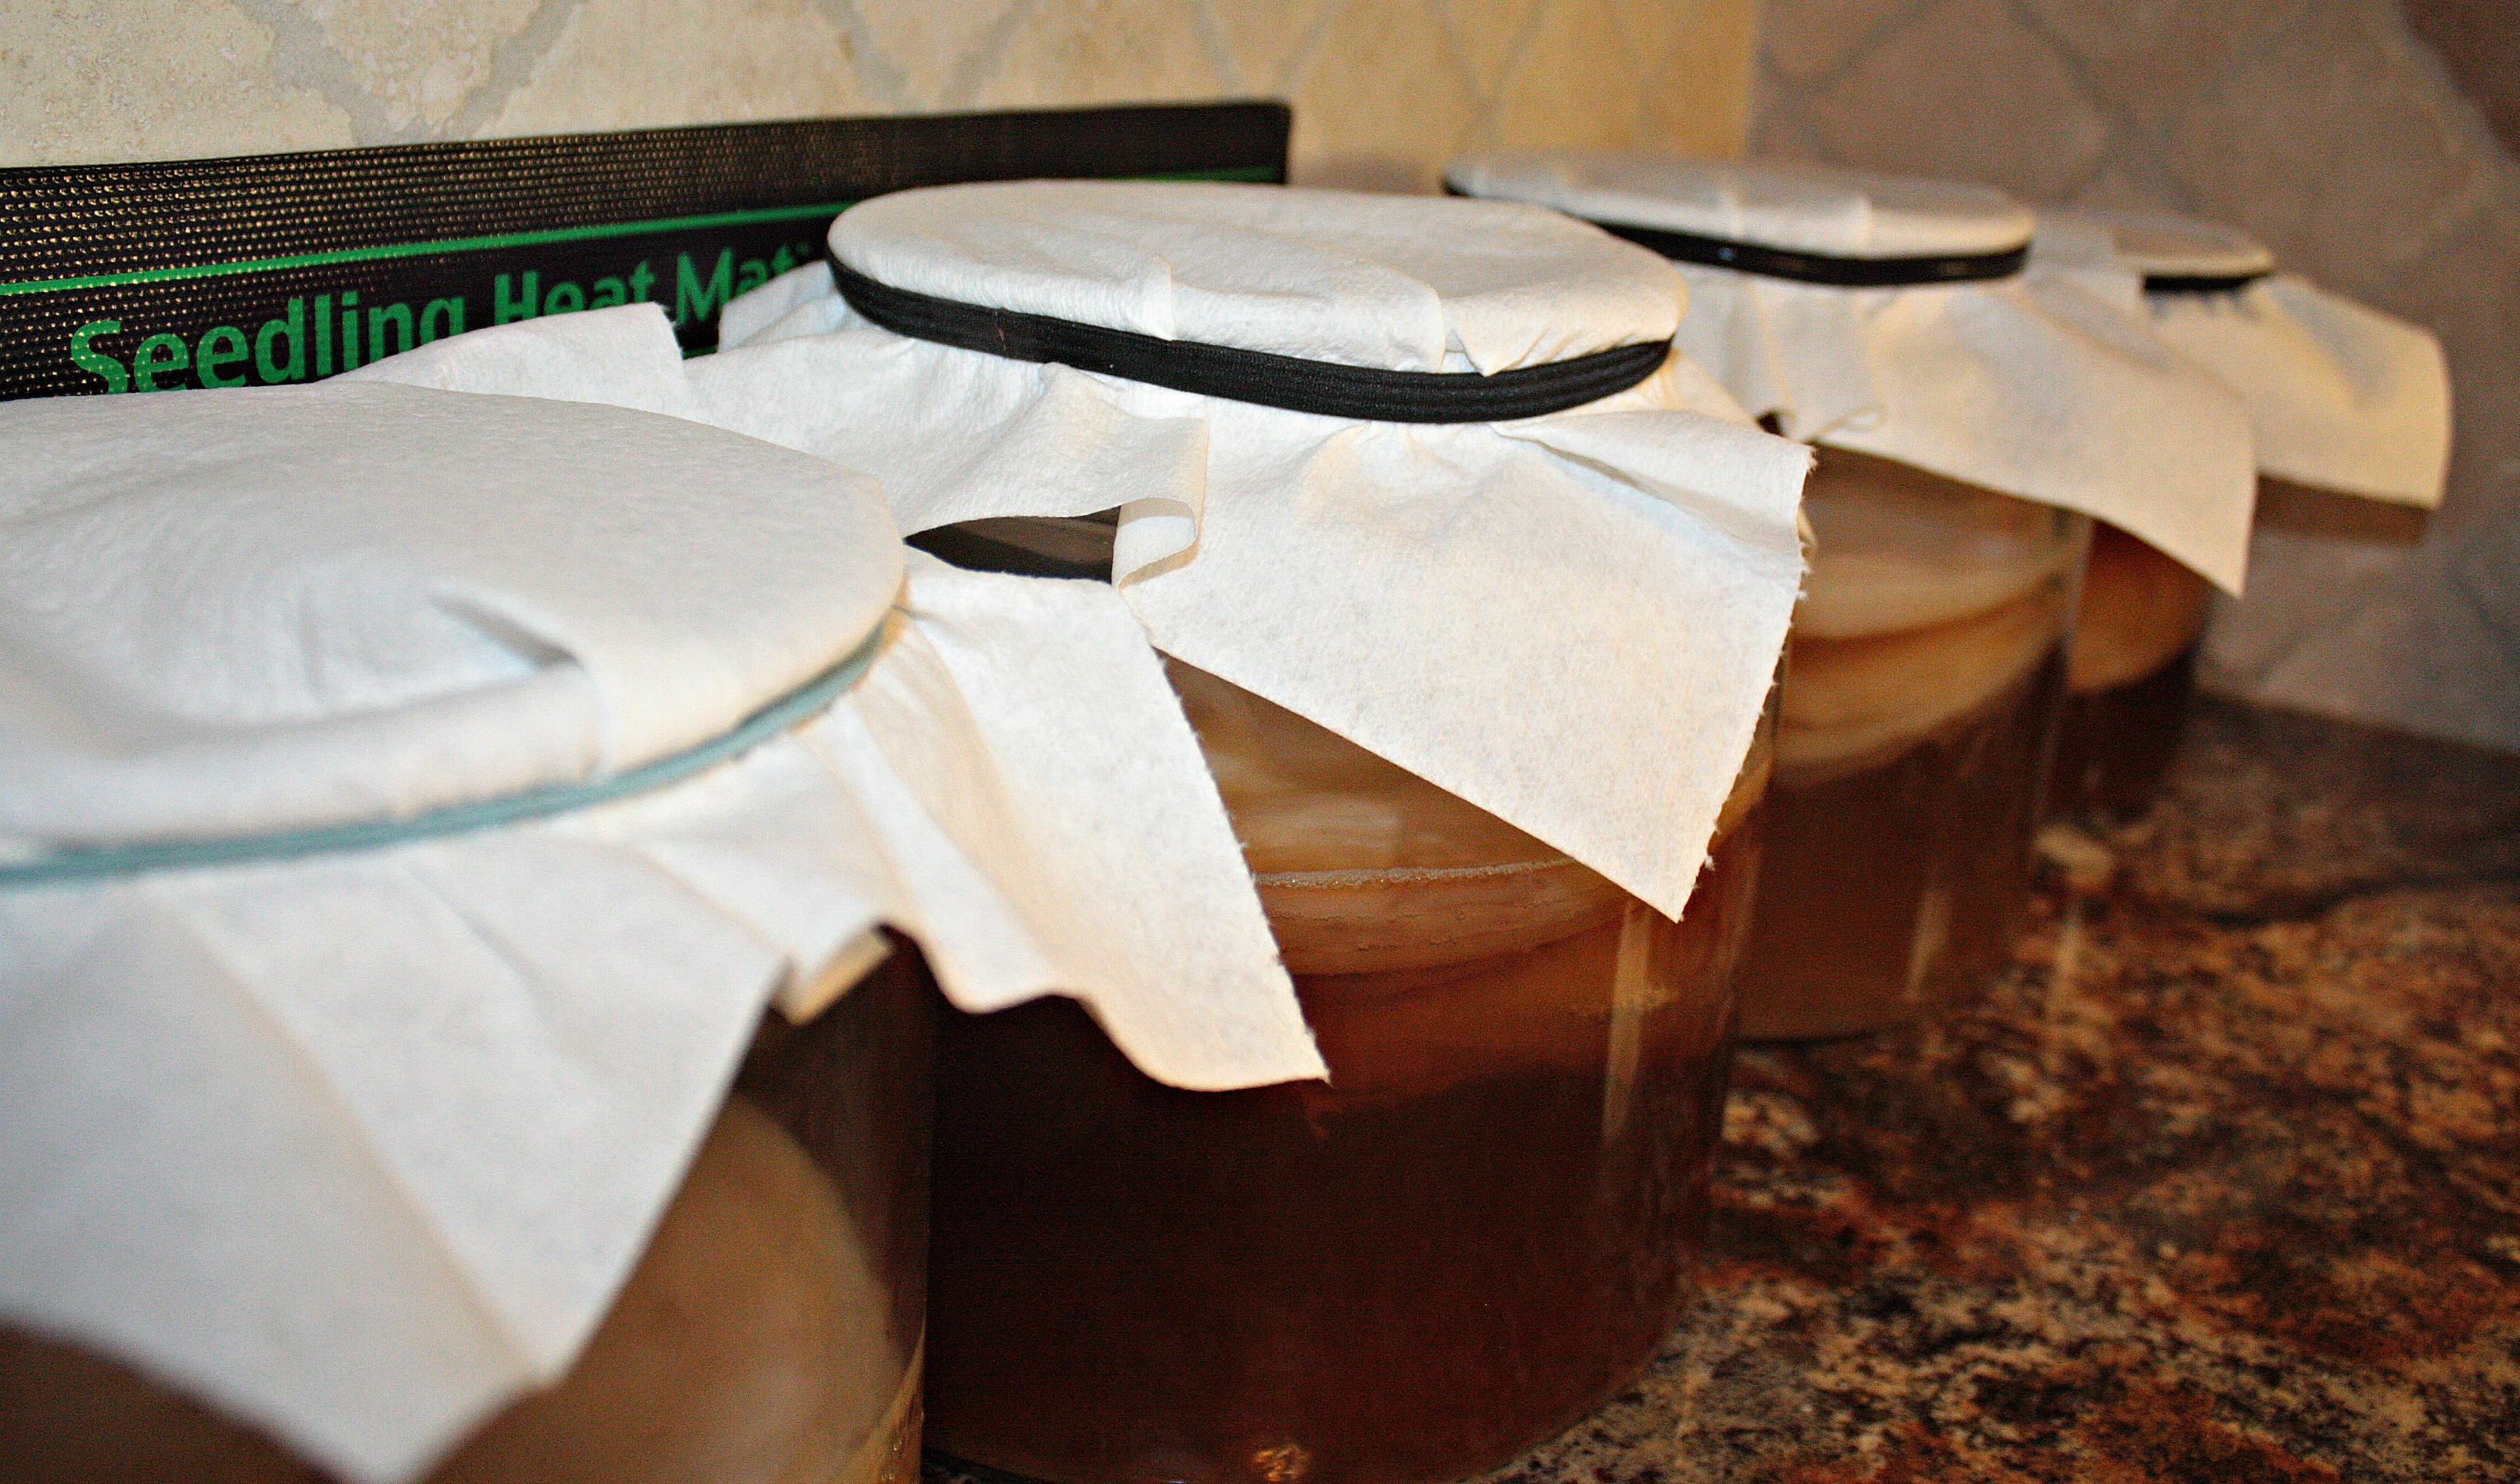
Kombucha takes little effort to brew. It might be necessary to add a seedling mat to accelerate fermentation during the colder months.
— Your SCOBY may sink, only later to rise (temperature affects this) or remain on the bottom. Either way, you should notice a thin layer forming on top of your kombucha within a few days. This is the new SCOBY!
— After five days, begin sampling the tea to see if it’s ready. (Someone suggested sticking a straw down the side into the tea…without backwashing, of course.) Ready means finding the taste you prefer.
Keep in mind that at the beginning of fermentation, kombucha has approximately 3 teaspoons of sugar for every cup. This means the longer it ferments, the more time your SCOBY has to consume the sugar, and the less sugar will be left in the end product. I prefer my tea to sit anywhere from 14 to 21 days.
As the kombucha brews you will notice the SCOBY may have a brown tinge (tea stains and yeast), dangling strands (yeast at work), and lots of bubbles (healthy brew). All of these things are good. What is not good is mold. If you have ever seen mold on bread then you know what to look for. Brown spots are most likely NOT mold. Mold looks like, well…mold.
— When your kombucha is done, it is time for a second ferment to increase carbonation and add flavoring.
— Using clean hands rinsed in vinegar separate your new SCOBY from the mother SCOBY. Make sure and save 2 cups of tea with every SCOBY to start new batches of kombucha.
After reserving 2 cups of tea for each SCOBY, it is time to bottle your kombucha and add flavoring. I use two types of jars:

There are many options for jars. As long as the lid creates a tight seal, carbonation will build during the second ferment.
— Both work well. I have found the flip top lids (because of their tight seal) create more carbonation. These bottles can be purchased at places like Target and Hobby Lobby. Again, whatever you decide to use make sure no metal parts come in contact with your brew.
— Fill your jars with kombucha and add fruit, spices, vanilla, or any other flavorings. The possibilities are endless! Pinterest has some great recipes for flavoring kombucha. I prefer to use frozen fruit like mango, strawberries, blueberries, and blackberries. Just a few pieces will add a refreshing taste to your drink.
— Allow kombucha to sit at room temperature for 2 to 3 more days. Once the second ferment is complete, the kombucha is ready to refrigerate and drink.
Be careful when initially removing the lids as the carbonation builds up pressure inside the bottle. I have never had a container break but it is always good to be cautious!
— A new small SCOBY along with yeasty strands may begin to form during the second ferment. You may strain them out upon completion or leave them as they are beneficial to ingest.
Our family seems to tolerate kombucha well. We drink about 1/2 cup a day, sometimes more. Our youngest, who is not quite two, is kombucha’s biggest fan. There is literature regarding whether or not it is safe for children to consume because of the small amounts of alcohol that it can contain. As long as you brew your kombucha properly, this should not be an issue.
Troubleshooting:
1) New SCOBY is not forming on the surface. Check the temperature. You may need to move the jar or add a heat source. Make sure you use a full cup of white sugar to feed your SCOBY. Is your SCOBY old? It may be time to compost an unhealthy SCOBY and work on strengthening your newer ones.
2) Kombucha is not carbonated. Sometimes you may end up with a “bad brew”. This has happened to me once. Instead of separating my new SCOBY from the mother, I left them intact and started another brew. This usually corrects the problem by strengthening your yeast and bacteria.
3) New SCOBY is small and thin. As with number two, leave your mother SCOBY attached to your new formation and start another brew to strengthen it.
4) Kombucha tea has gnats. Make sure and use a tightly woven paper towel so that they cannot gain access into your jar.
Other uses for kombucha:
Fruit snacks, smoothies, popsicles, jerky, in place of liquids in baking, composting, chicken feed…the list is endless!
For resources on the health benefits of kombucha and other information click here:
http://www.gaiaresearch.co.za/kombucha.html
http://kombuchaliving.yolasite.com/kombucha-benifits.php
http://www.naturalnews.com/041051_kombucha_healthy_drinks_scoby.html
Give kombucha a try and see what it can do for your family!